Whenever I develop an unconscious, crazy, need for deep, deep frustration, I take up the task of trying to create a better microtex.ace file. The latest attempt was too yellow too bright, particularly in the foreground, so out it goes. Oh well. But while making that evaluation, I did shoot a few screenshots that look decent enough to share:
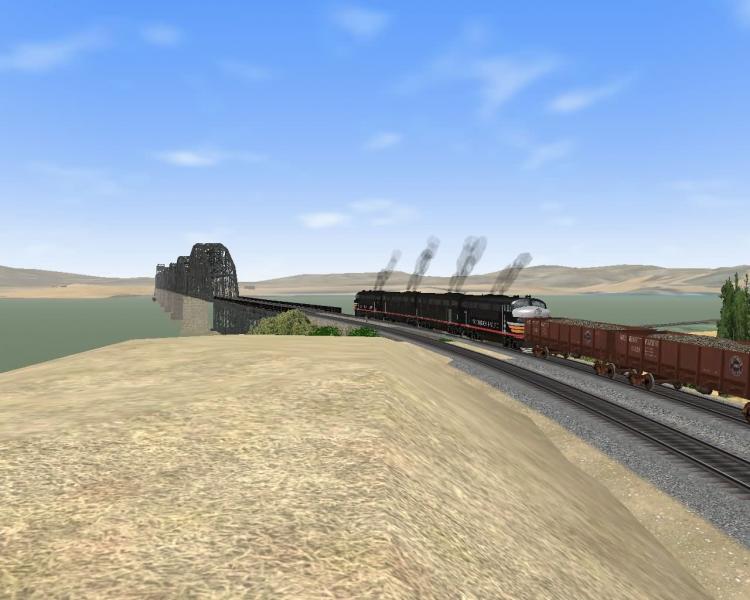
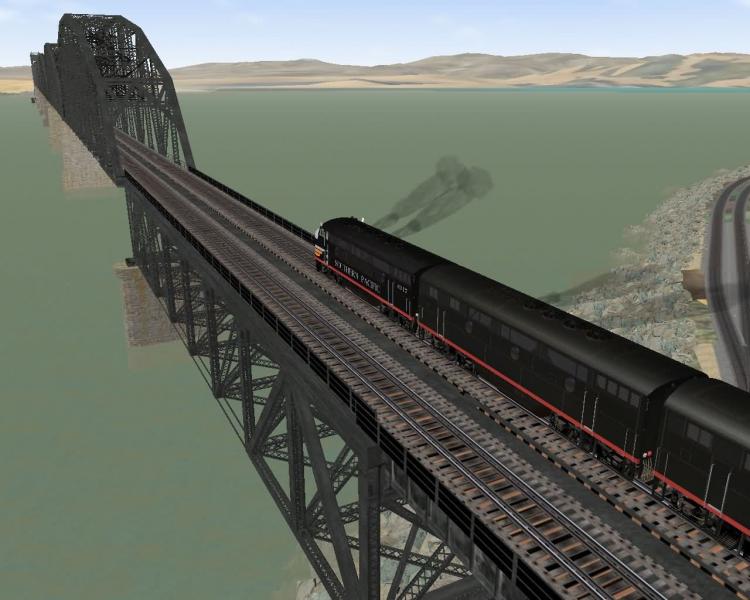
Westbound approaching the Benicia bridge:
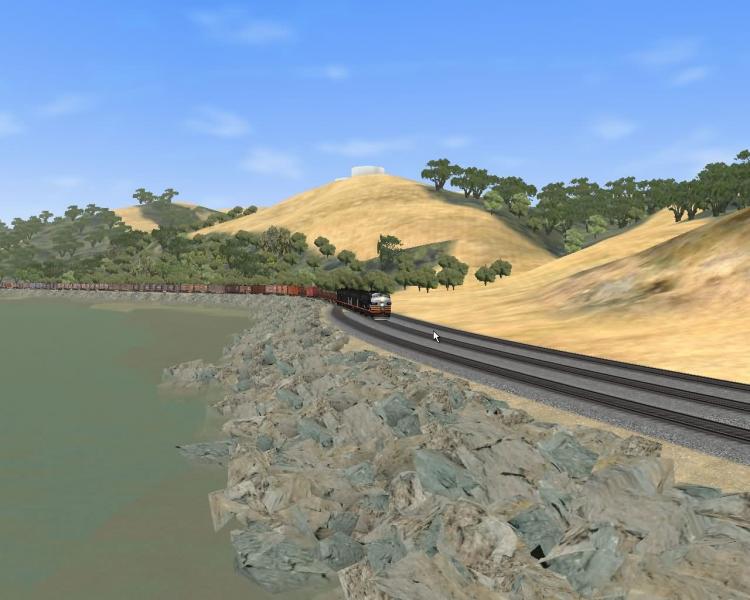
Between Ozol and Nevada Dock (I like these two best):
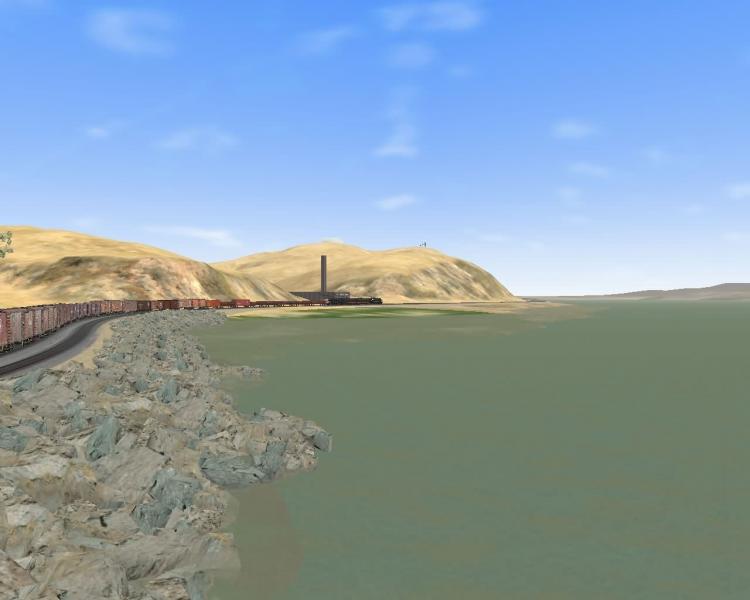
Passing the Port Costa Brick Works at Nevada Dock:
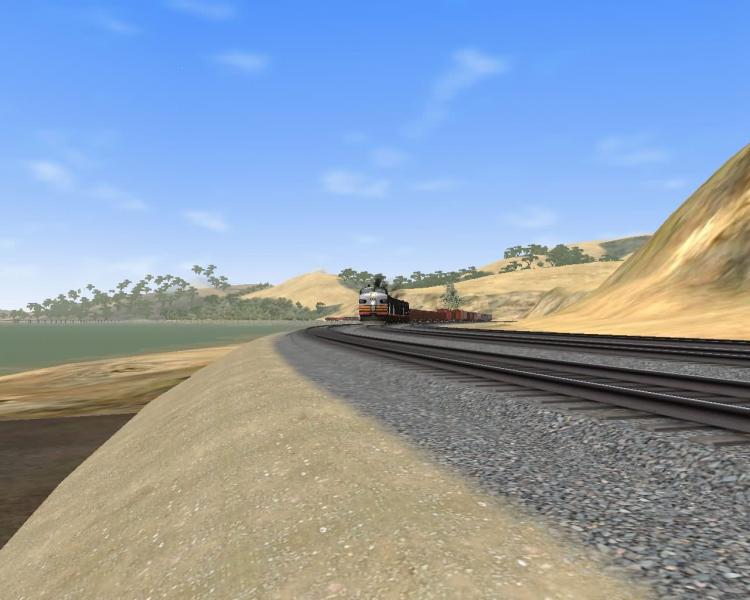
Coming 'round the curve into Port Costa (see how the MSTS-bin enhancement of 2000m sightline to forests isn't so great afterall -- the land evaporates first!):
Anyway, that was fun... but do I want to try correcting that microtex? Hmmm... :sign_sorry: oh! Was that the phone?
Page 1 of 1
Trying out a new Microtex
#2 Inactive_SPTrains_*
Posted 09 June 2008 - 01:59 PM
Wow that looks great is this part of the Cal-P-Line Route. :sign_sorry:
#3 Inactive_CARex_*
Posted 09 June 2008 - 07:11 PM
Looks great Dave. I used to run through there all the time, often staying at truck stop (now gone) in Suisun City near the scale. Is this the section that runs near the 680? In any event, it truly looks like the region. You’ve certainly captured the essence of area. I can almost feel the warm breezes.
Have a sparkling evening.
Bob
Have a sparkling evening.
Bob
#4
Posted 09 June 2008 - 09:43 PM
I like this portion of the Cal-P for some reason. I've never been there, but it looks familiar for some reason. Well done Dave! The only thing that spoils the scene is the gon's LOD's making them look like Lionel cars in the distance!
#5
Posted 09 June 2008 - 10:17 PM
Yes Bob, it is near 680.
I claim no preference to my favorite part of the route. Having ridden every inch of it both from coaches to the head end, I still say this is one of the coolest stretches of SP in the Bay Area.
Now if only to make a trip with the 2472 out to Sac again...aw, pure bliss.
I claim no preference to my favorite part of the route. Having ridden every inch of it both from coaches to the head end, I still say this is one of the coolest stretches of SP in the Bay Area.
Now if only to make a trip with the 2472 out to Sac again...aw, pure bliss.
#6
Posted 12 June 2008 - 10:59 PM
The color of that sand looks fine from were I'm looking. It is the sand color you are talking about isn't it? <_< ;)
#7
Posted 13 June 2008 - 09:25 AM
Ed, the microtex is a bump map image that sits underneath all the regular terrtex image. It looks pretty much like random speckles. If the bump map looks stringy (see image #1, above), like grass, so does the terrain... and if it looks pebbly (see any of Tim Muir's screenshots), so does the terrain. For the most part what it does is adjust the pixels in the terrtex according to the lightness/darkness of the pixels in the bumpmap.
One of the several gotcha's is the microtex also imparts color into terrtex image. Another is that, in the default MSTS environment, you only get one bump map for everything -- so you'd better get it right. <_<
The original MSTS bump map is subtle, and a bit green. For routes back east it works fine. For western (desert) routes, or like the Cal-P here in central California, the green tint is usually not right. What I tried was a tint on the brownish side and unfortunately it was a bit too light and a bit too yellow and the stringly quality it created wasn't what I wanted.
If you're good, you can make a new bump map that's right for your route. And if you own Mosaic you can make use of multiple bump maps and assign each one to a specific terrtex file. I have the software, the knowledge, but not enough of the skill. ;)
p.s. You mentioned the sand color... I think you are refering to the subroadbed... those are berms shapes that I've inserted under the mainline. They allow me to fill the area between the double track w/ ballast, give a raised appearance to the mainline w/o having to rely on the 8m sized terrain polys, and to fix a visual flaw in Scale Rail that allows you to see a gap between rail and ballast when the camera is low.
#8
Posted 13 June 2008 - 03:56 PM
Genma Saotome, on Jun 13 2008, 10:25 AM, said:
Ed, the microtex is a bump map image that sits underneath all the regular terrtex image. It looks pretty much like random speckles. If the bump map looks stringy (see image #1, above), like grass, so does the terrain... and if it looks pebbly (see any of Tim Muir's screenshots), so does the terrain. For the most part what it does is adjust the pixels in the terrtex according to the lightness/darkness of the pixels in the bumpmap.
One of the several gotcha's is the microtex also imparts color into terrtex image. Another is that, in the default MSTS environment, you only get one bump map for everything -- so you'd better get it right. <_<
The original MSTS bump map is subtle, and a bit green. For routes back east it works fine. For western (desert) routes, or like the Cal-P here in central California, the green tint is usually not right. What I tried was a tint on the brownish side and unfortunately it was a bit too light and a bit too yellow and the stringly quality it created wasn't what I wanted.
If you're good, you can make a new bump map that's right for your route. And if you own Mosaic you can make use of multiple bump maps and assign each one to a specific terrtex file. I have the software, the knowledge, but not enough of the skill. ;)
p.s. You mentioned the sand color... I think you are refering to the subroadbed... those are berms shapes that I've inserted under the mainline. They allow me to fill the area between the double track w/ ballast, give a raised appearance to the mainline w/o having to rely on the 8m sized terrain polys, and to fix a visual flaw in Scale Rail that allows you to see a gap between rail and ballast when the camera is low.
One of the several gotcha's is the microtex also imparts color into terrtex image. Another is that, in the default MSTS environment, you only get one bump map for everything -- so you'd better get it right. <_<
The original MSTS bump map is subtle, and a bit green. For routes back east it works fine. For western (desert) routes, or like the Cal-P here in central California, the green tint is usually not right. What I tried was a tint on the brownish side and unfortunately it was a bit too light and a bit too yellow and the stringly quality it created wasn't what I wanted.
If you're good, you can make a new bump map that's right for your route. And if you own Mosaic you can make use of multiple bump maps and assign each one to a specific terrtex file. I have the software, the knowledge, but not enough of the skill. ;)
p.s. You mentioned the sand color... I think you are refering to the subroadbed... those are berms shapes that I've inserted under the mainline. They allow me to fill the area between the double track w/ ballast, give a raised appearance to the mainline w/o having to rely on the 8m sized terrain polys, and to fix a visual flaw in Scale Rail that allows you to see a gap between rail and ballast when the camera is low.
Either way, it still looks good. Anyone that don't know what to look for won't notice it. ;)
Page 1 of 1