Log In
 Register Now!
 Help
Help

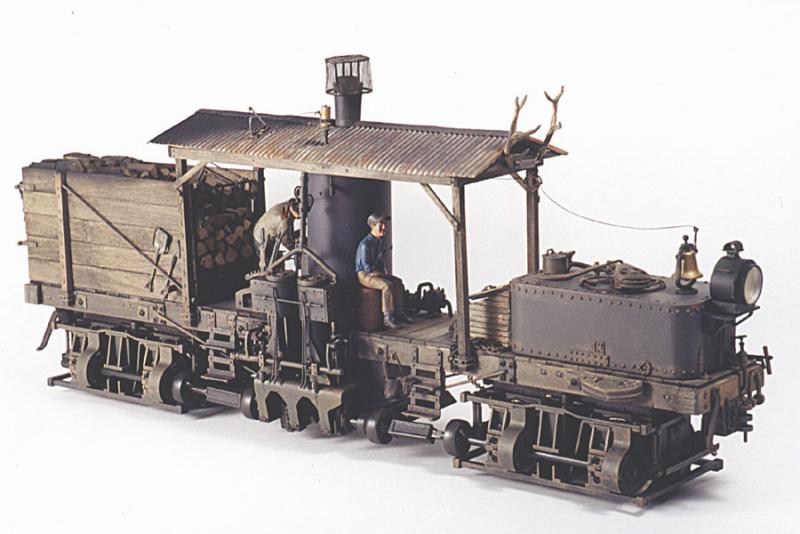
The inspiration
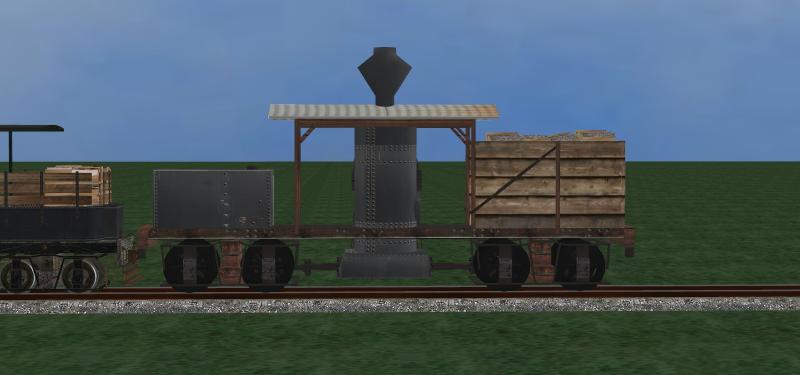
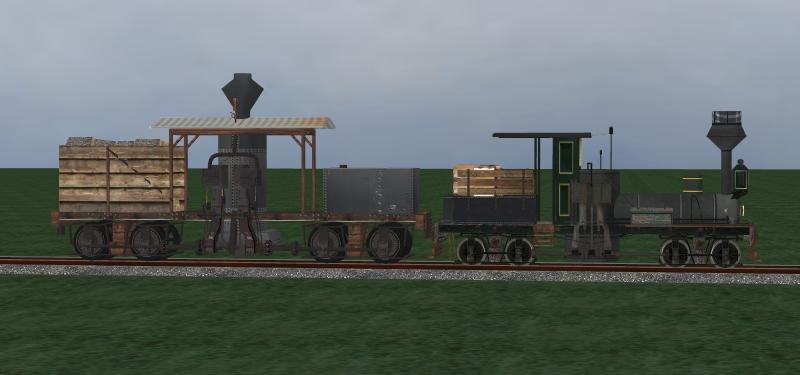
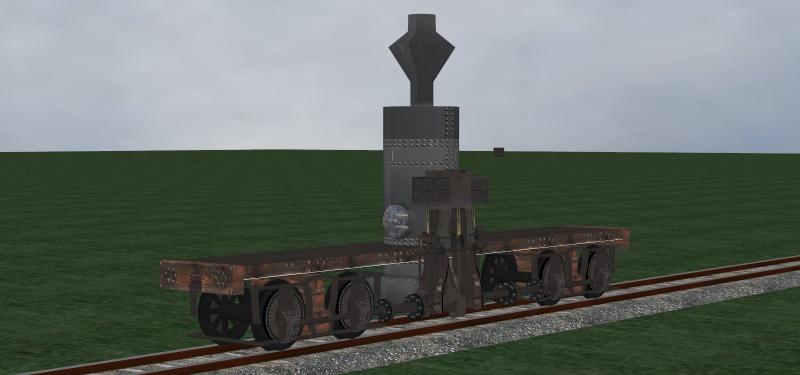
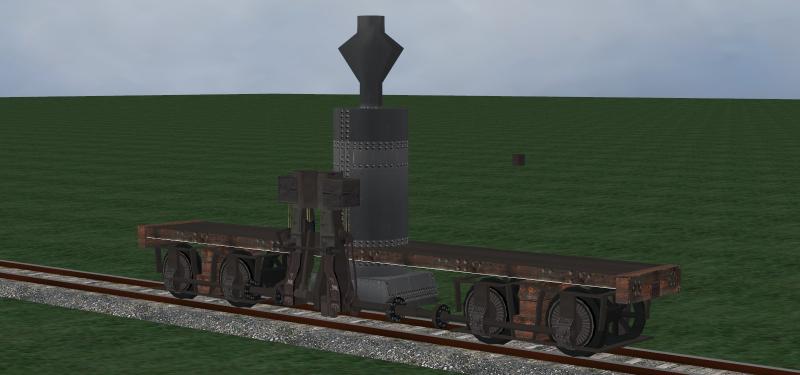
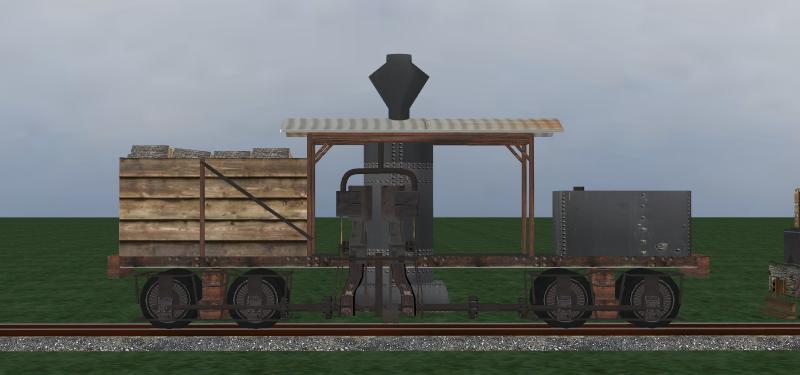
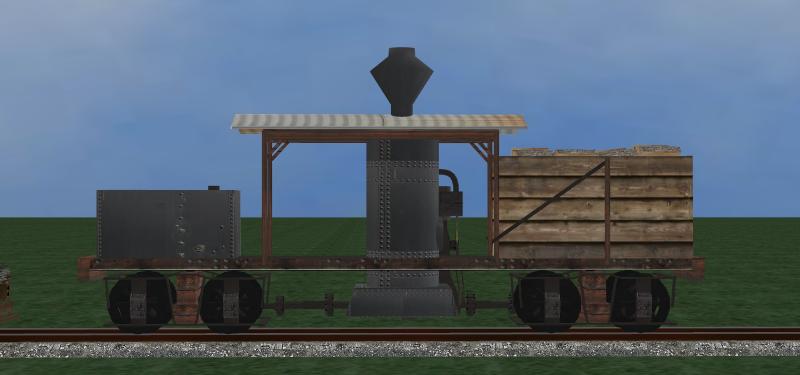
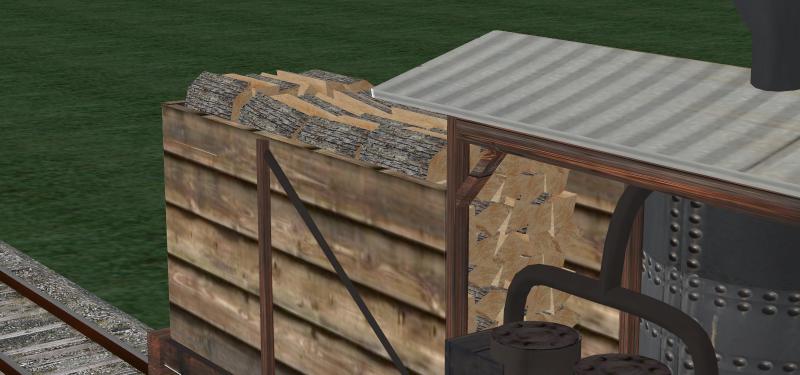
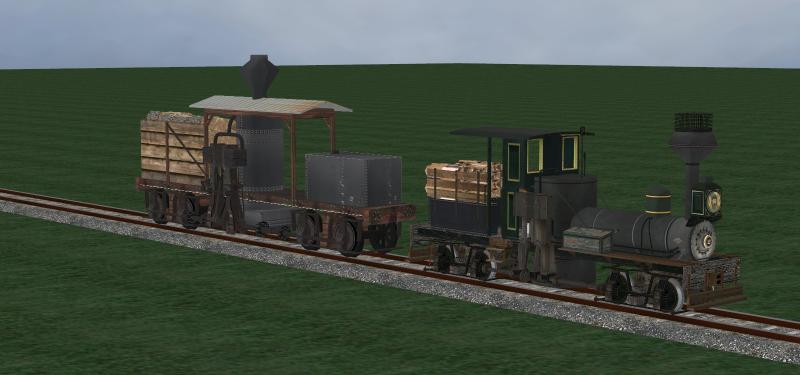
The model.
.


Posted 09 October 2012 - 06:55 PM
Posted 09 October 2012 - 09:15 PM
Posted 09 October 2012 - 09:22 PM
Posted 10 October 2012 - 06:28 AM
Posted 10 October 2012 - 07:22 AM
Posted 10 October 2012 - 07:34 AM
Posted 10 October 2012 - 03:24 PM
Posted 10 October 2012 - 03:50 PM
Posted 10 October 2012 - 04:34 PM
Posted 10 October 2012 - 07:01 PM