1. Installation of Gmax

Version 2.0 -  May 2008


GMAX is no longer available directly from Autodesk/Discreet.  Distribution was stopped in late 2005.
Various sites offer GMAX v1.2 for download. 

The unofficial, official site for GMAX downloads and general support is now
TurboSquid   http://www.turbosquid.com/gmax


To install Gmax on your computer, the following files need to be downloaded from the above page.
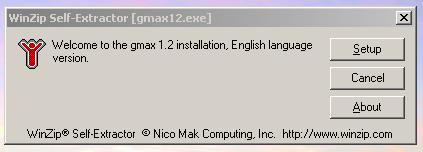
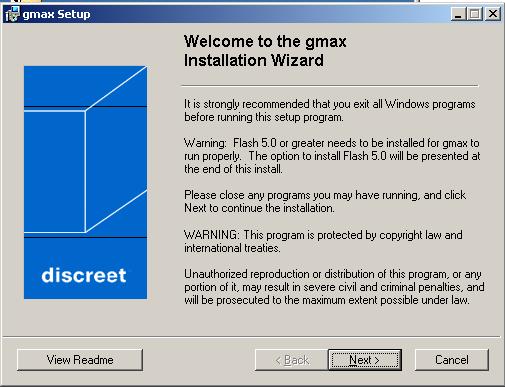
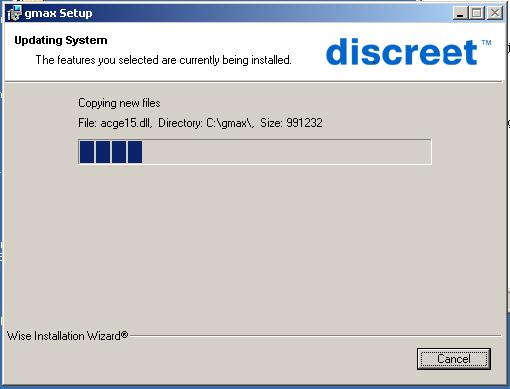
  • gmax12.exe  The main GMAX program.
  • gmax12_help.exe  The GMAX Help system.
  • gmax12_tutorials.exe  The GMAX Tutorials.  (This is optional.  The first 2, maybe 3 of these tutorials will give you a fair  introduction to the GMAX world.  To the best of my knowledge the rest are not required for anything you will create for MSTS.
  • library.exe  Some Sample textures.  This again is completely optional.  I have never looked at it, so I cannot say if contains any useful materials for MSTS.
  • Since GMAX is no longer distributed or supported by Autodesk/Discreet, you will need to download and use this workaround for registration.  http://pages.infinit.net/browser/Projects/GMAX/GMAX_Registration_Workaround.zip     This writes GMAX registration information into your system's registry and you will not be presented with the original On-Line registration forms, which no longer works.  Without registration information in your system's registry, GMAX will not run.
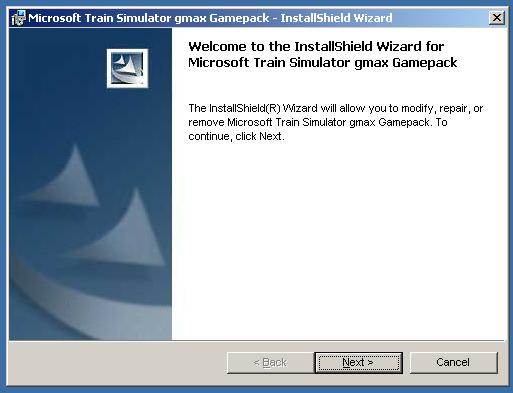
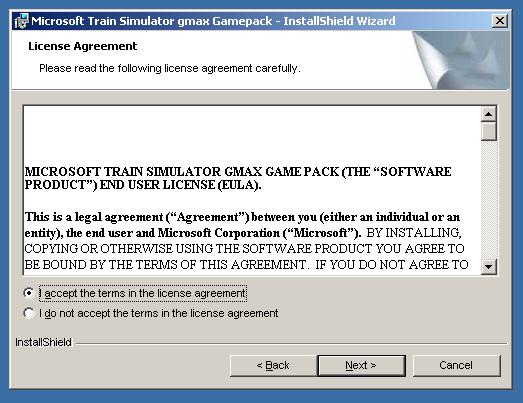
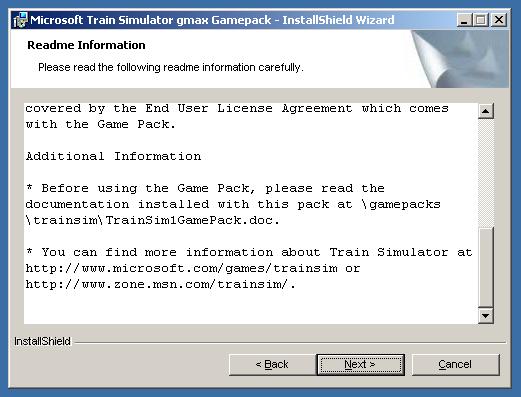
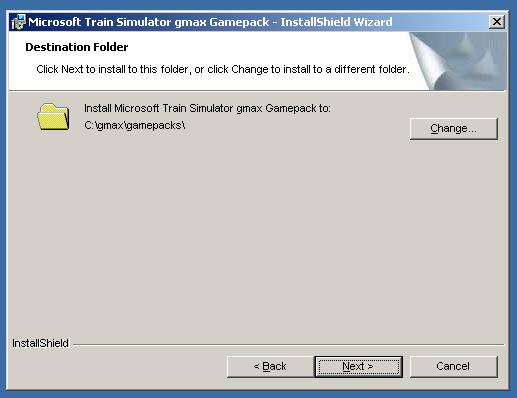
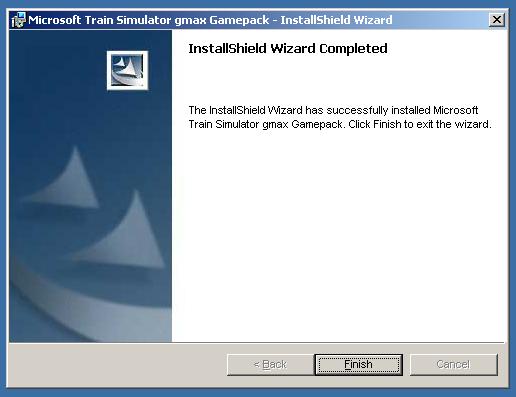
 If you have downloaded everything, you should have these files stored on your computer


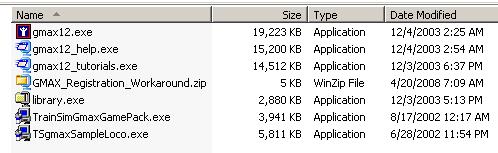
Don't be concerned with file dates, they may vary if these files are downloaded from different sources.

First, we launch Gmax12.exe and click Setup.

When the welcome-window shows, we click Next

In the following window Software Licence Agreement we click I Accept and choose the appropriate country in the field Select your Country

Then we choose the destination folder and click Next two times.

Gmax is now installing...

...ready.

...better said...

...not yet ready.

first we've to click
Finish.

A link to Gmax now shows up on the desktop,

DO NOT OPEN THIS LINK UNTIL YOU HAVE INSTALLED THE GMAX REGISTRATION WORKAROUND

Open the GMAX_Registration_Workaround.zip file and double click on Gmax_1.reg and then Gmax_2.reg file to update the registration entries for your system.  You can look at the text file in the archive and it will say basically the same thing.

Once you have done that, it is safe to open GMAX.  Double click on the GMAX icon on your desktop.


...initialization process starts...

...here we choose the display driver. (in most cases Direct-3D)...

If you experience video problems, try using a different driver.  In many cases this will solve your problems.

You now have successfully installed GMAX.  However, you are not yet ready to start creating anything for MSTS.

You need to install the MSTS plug-in before you start any projects or tutorials.

CLOSE GMAX NOW.


Now we install the MSTS plugin. We click on TrainSimGmaxGamePack.exe


The installation process starts...

...we agree to the license terms, click Next once...

...once again Next and...
...confirm the destination folder. The installer retrieves the destination folder location from the windows registration database. ...

...just click Finish,

Ready


Caution!  You are still not completely ready to create content for MSTS yet.

Unless you intend to use GMAX for any other game's content creation, it is Highly Recommended that you DELETE the GMAX shortcut on your Desktop.

Using that shortcut will not allow you to access the shape export functions for the MSTS plug-in you have just installed. 

To create and export content for MSTS, you need to copy the Trainsim Gamepack shortcut from the \GMAX\gamepacks\TrainSim folder to your Desktop and use that ONLY to start GMAX 

Use this link only to launch GMAX with the MSTS plugin.

Gmax with MSTS plugin installed.
It is highly recommended that you go through and complete the first 2 GMAX tutorial sessions from the GMAX tutorials that you should also install.  These can be accessed from the Help menu.  Completing these is not mandatory, but will give you a good initial introduction that will make completing this tutorial easier.


back to table of content

to next chapter (User Interface)