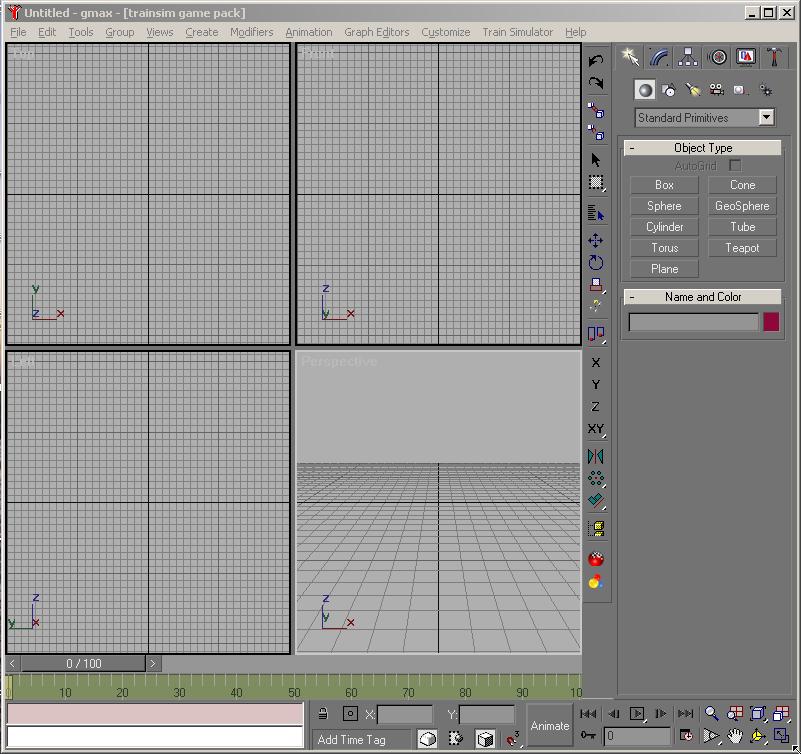
After launching Gmax with the Trainsim Gamepack link...
After launching Gmax with the Trainsim Gamepack link... |
|
|
| ...the graphical user interface shows up. |
|
The Main ToolbarGmax places the main toolbar on the right of the four big windows. It can be moved around and placed where you want it. I have moved the toolbar for this next section only to conserve space. The remainder of the tutorial will proceed with the default toolbar positioning. |
| All items in the Main Toolbar are not covered here. Consult the GMAX Help for information on those not shown below, The most important functions are: |
 The Toolbar is reconfigured for the screenshot to conserve space.
 |
Undo. Undo allows you go back and redo a step (or more) that you want. The number of Undo steps can be changed up to 999. |
|
Redo. Redo allows you to step forward, if you have hit Undo too many times. |
|
| Select and Link object. This function determines the object hierarchy and is needed to make animations work in MSTS, and divide big objects into smaller ones. | Unlink Selection. Allows you to unlink objects in the hierarchy. |
|
|
| Select object(s). | Region Select. Allows you to change the region selection method. By default GMAX uses rectangular selection |
|
|
| Select by Name. Allows you to select objects by name. |
|
Select and Move object(s). | |
| Select and rotate object | |
Select and scale object Note that any one of the symbols on the right may appear on the toolbar, depending on what was used last |
|
| Material tools. Textures are loaded and materials are put to the objects. | Material Navigator. Here we can see all used materials. |
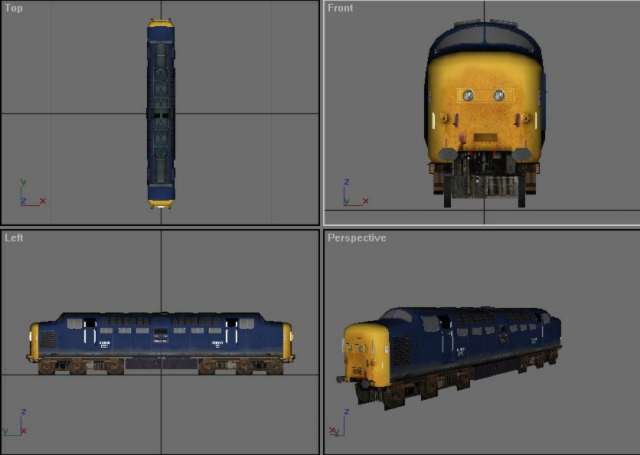
The ViewportsIn standard configuration, the viewports are showing the model in Top, Front, Left and perspective view. The view selected is shown with a white border. Which is the view Front in the case shown. |
|
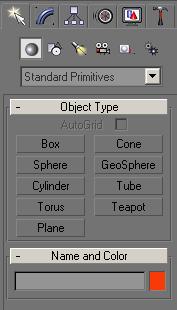
The ToolboxThe toolbox contains the most important tools to create and modify objects. |
|
| Create To create basic objects, so called primitives. Boxes, Cylinders, etc. |
Modify Here is where the modeling takes place. |
||
| Hierarchy we need this tool to set and align the objects pivot points if necessary. |
Display With this function, we can hide objects or make them transparent temporarily. |
||
| Utilities In most cases, we need the Reset XForm function only. |
The following are all located at the bottom of the
screen
The Time Axis For Animations And Animation ControlThe animation slider shows, which animation frame is visible in the viewports. This is at the bottom of the screen. |
|
|
| This is the animation control |
|
|
The View ControlWith the animation control, we can zoom in and out, pan the display window and spin and turn the objects in the perspective viewport. We can also switch a viewport to full screen mode and back. |
|
|
The Snap MagnetosWith the magnetos we can snap to the grid or objects, and turn on and off the angle snap. |
|
|
I will give further explanation to functions in the appropriate chapters if needed.