I know it's not one of the new routes. But considering the amount of content on this route, it's quite a blast to run.
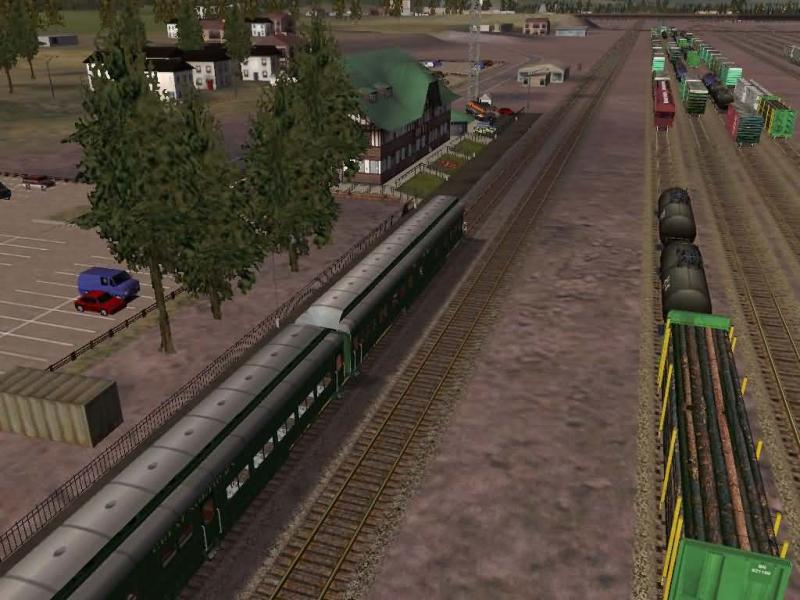
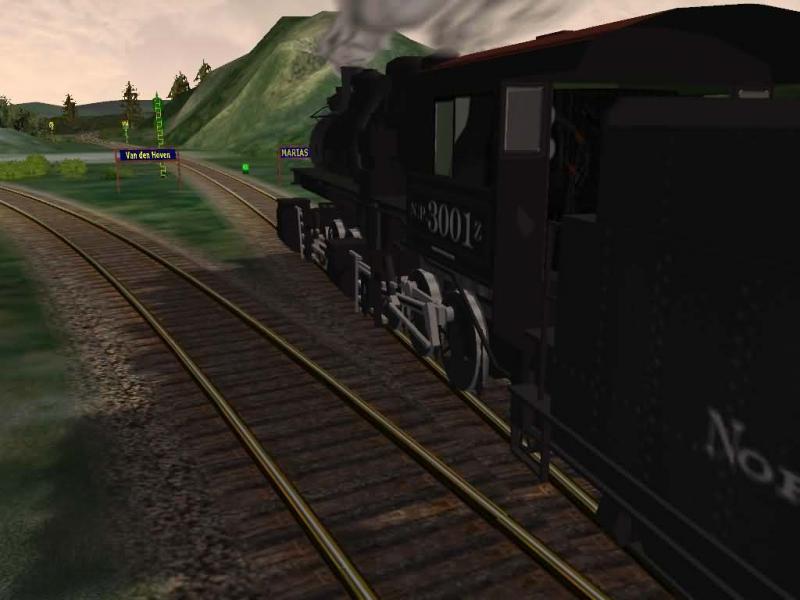
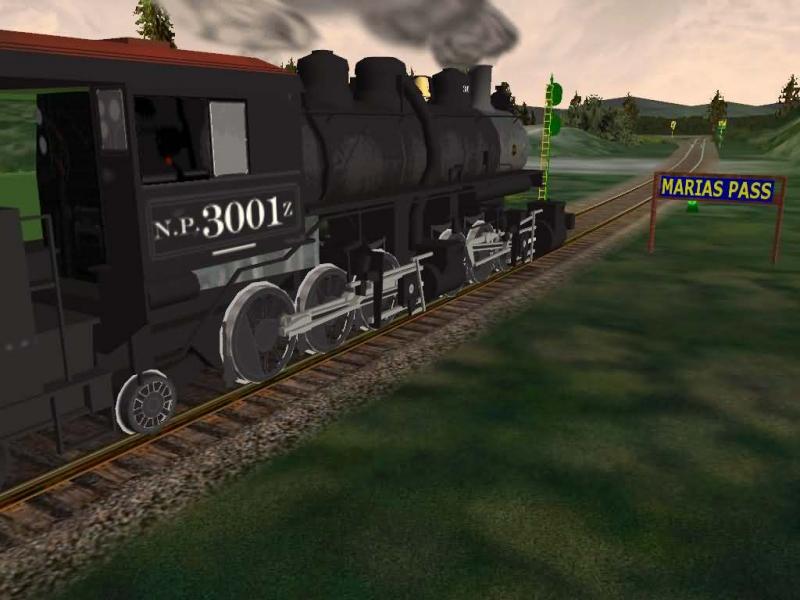
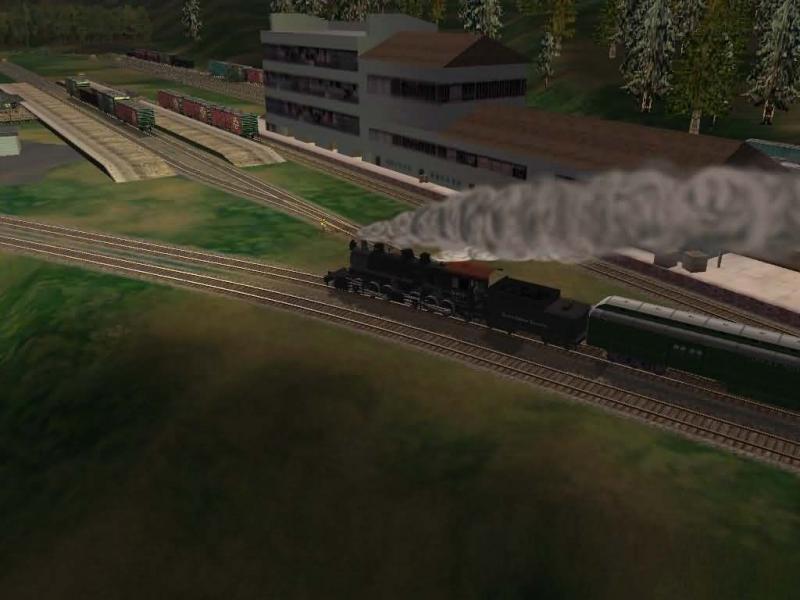
And Marias Pass sure hasn't looked better than how it was done on this route. The extended part west of the original is the section of Port Ogden, which is the fictionlized part of the route. Port Ogden, I would say, is a compilation of places and names dedicated to those people that had contributed to the community of MSTS from even way back. Which is why, to any new comer to the world of MSTS, this is a route I would recommend you get. I really like how this place was done.
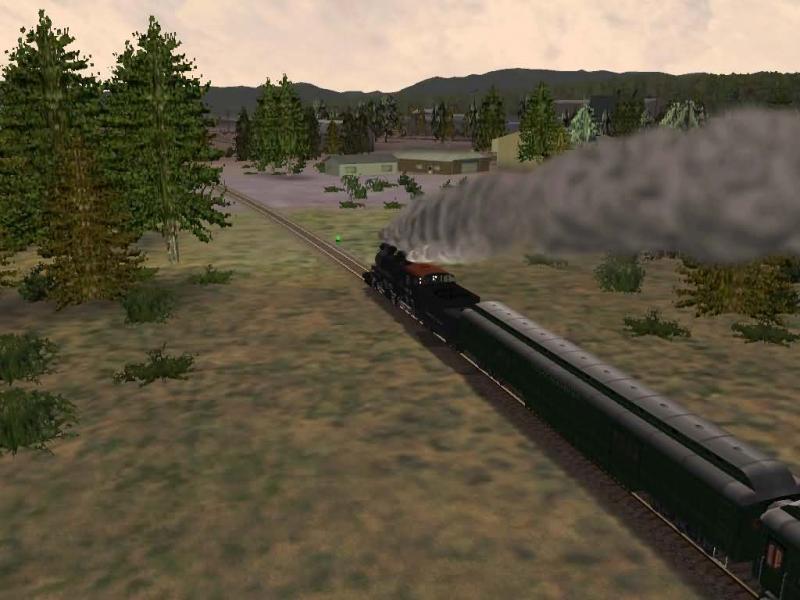
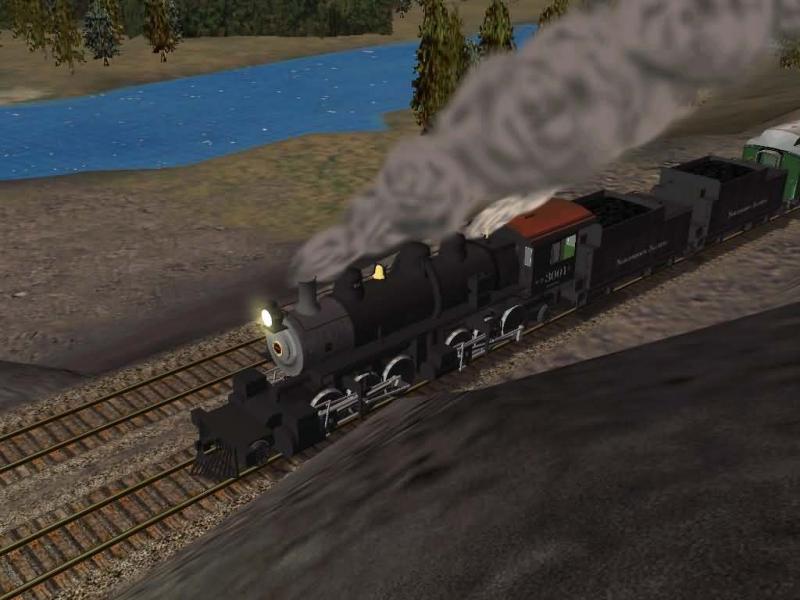
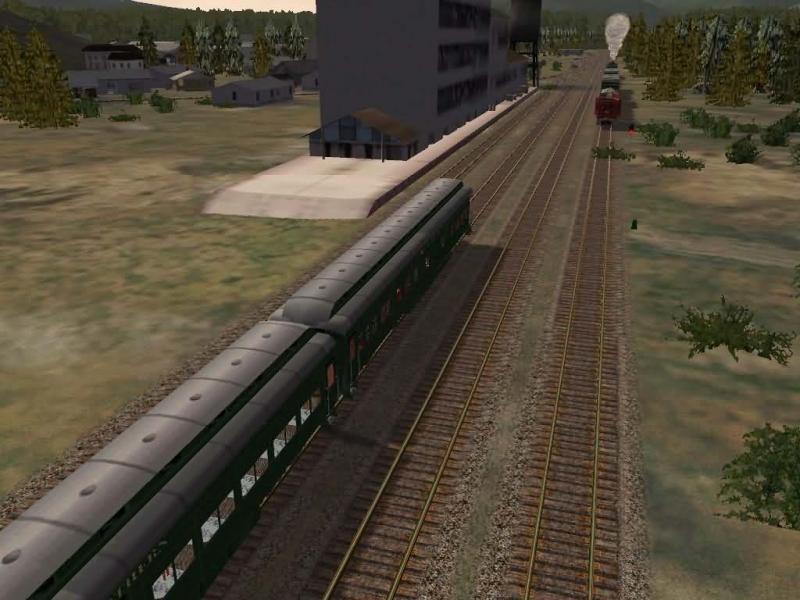
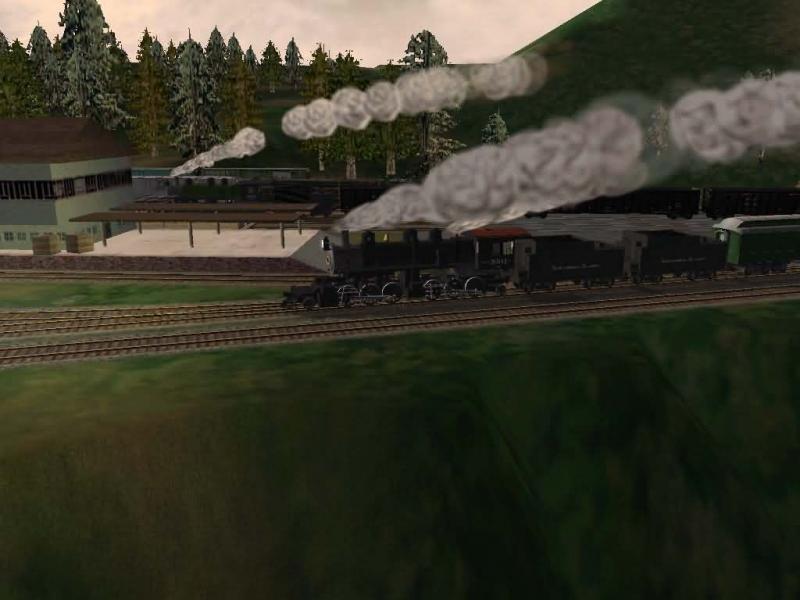
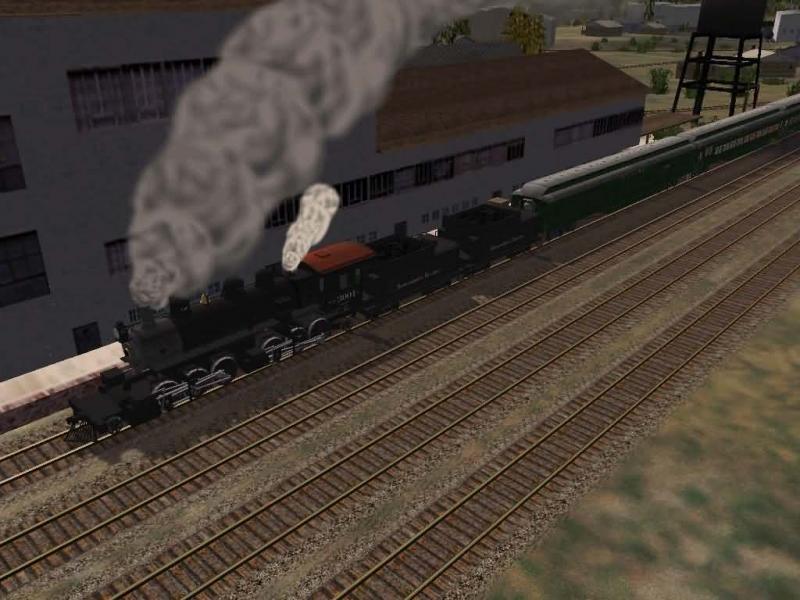
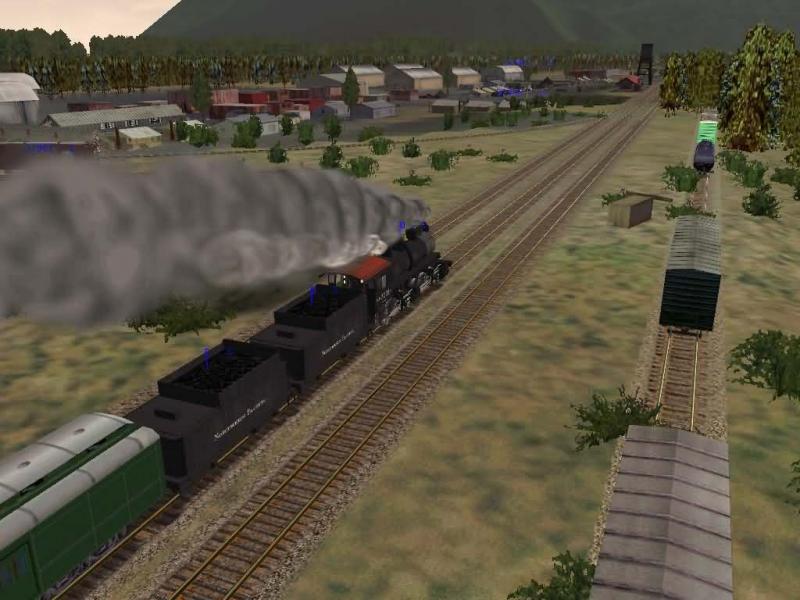
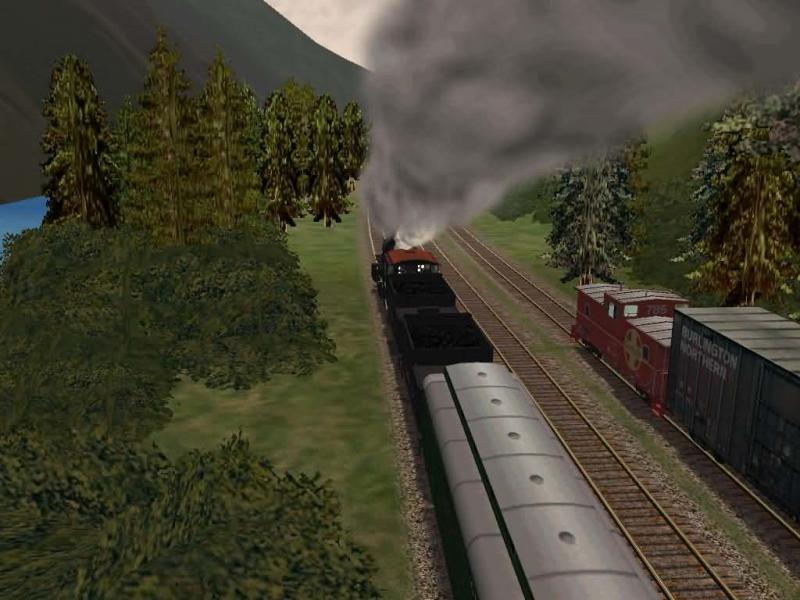
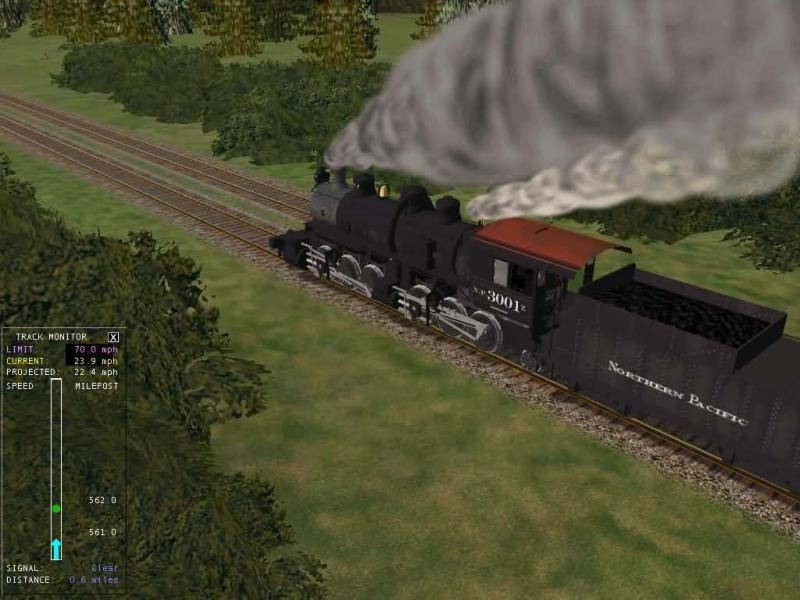
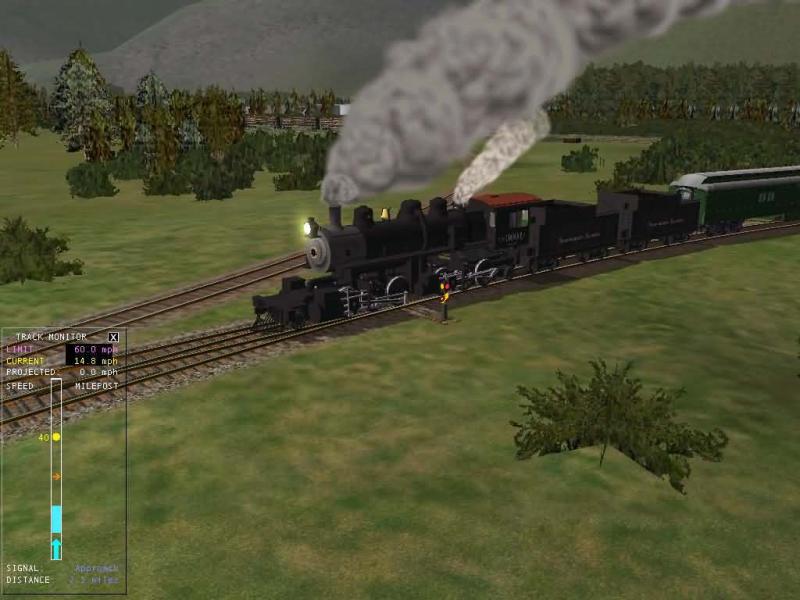
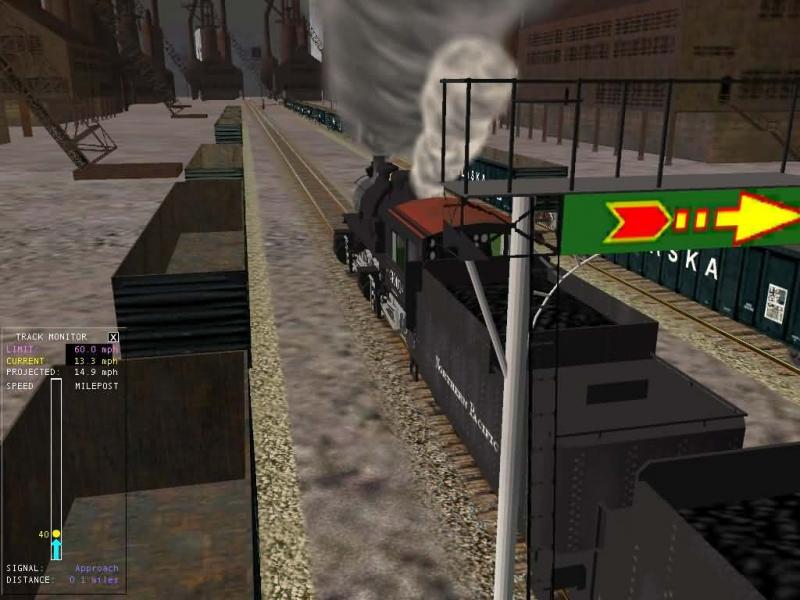
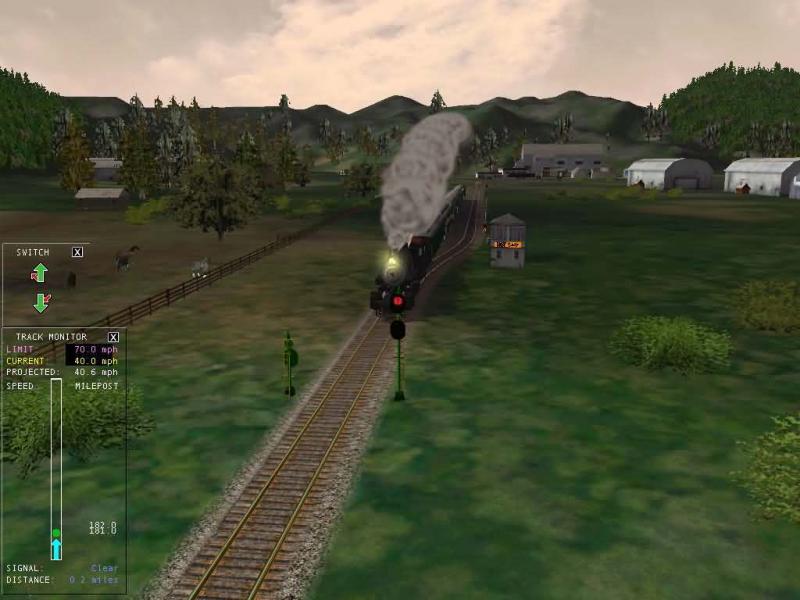
And the big plus for us steamers is it made Marias Pass section a steam engine drivable area. It's got water and coal replenishing stations in different sections of the route.
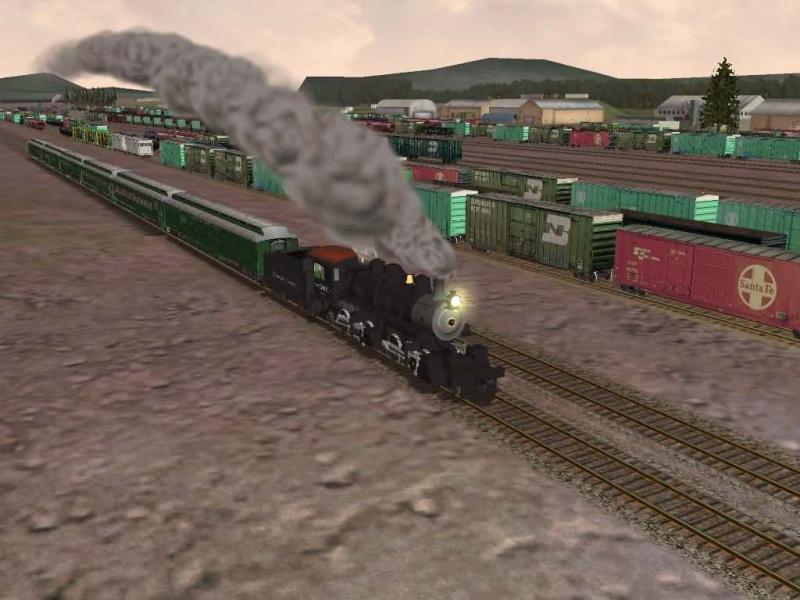
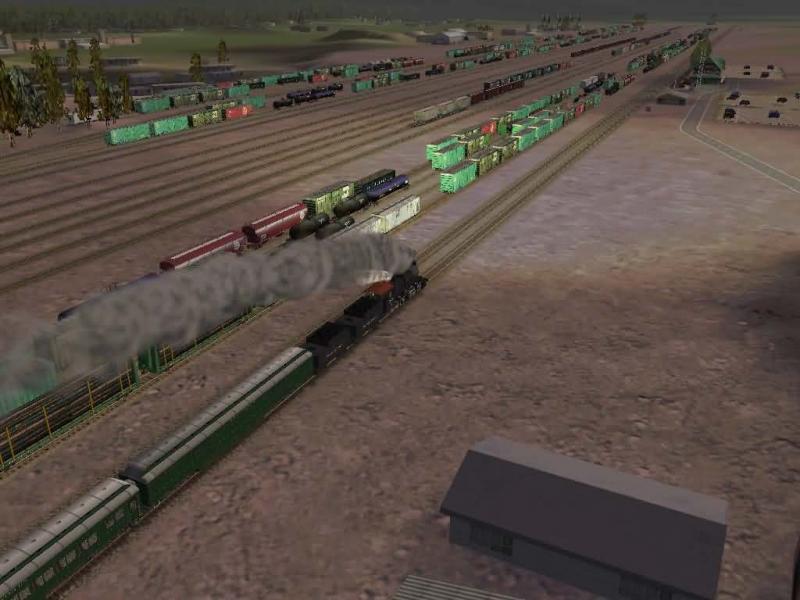
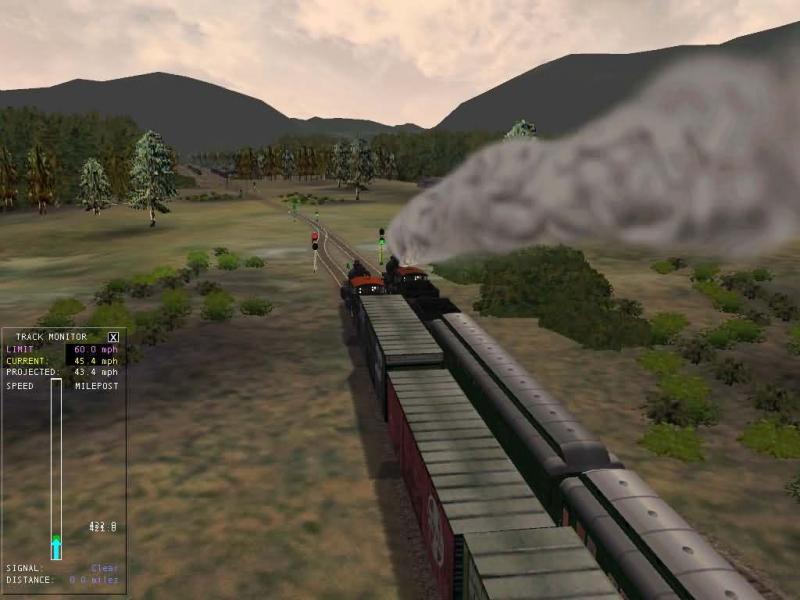
So without any more delays, here's some of what I took. The first part anyway. I took, so far 70 of them, and I'm not even done yet!!
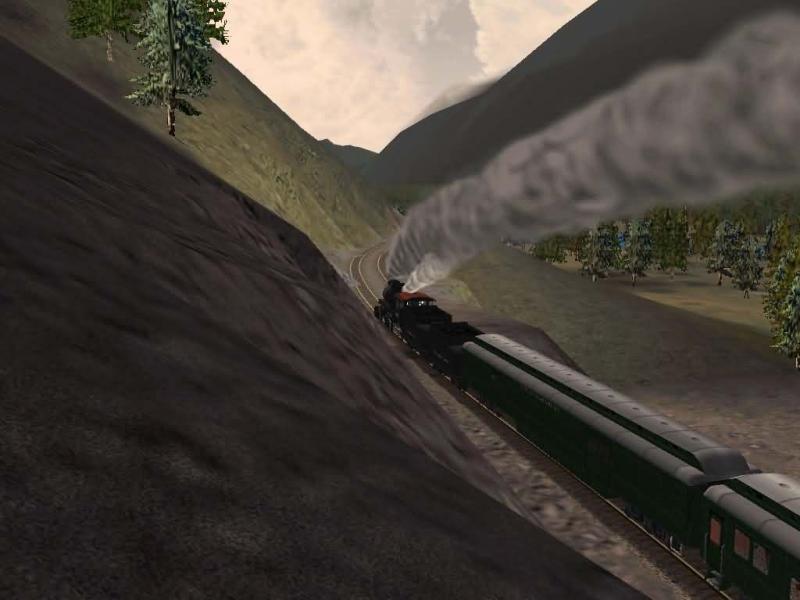
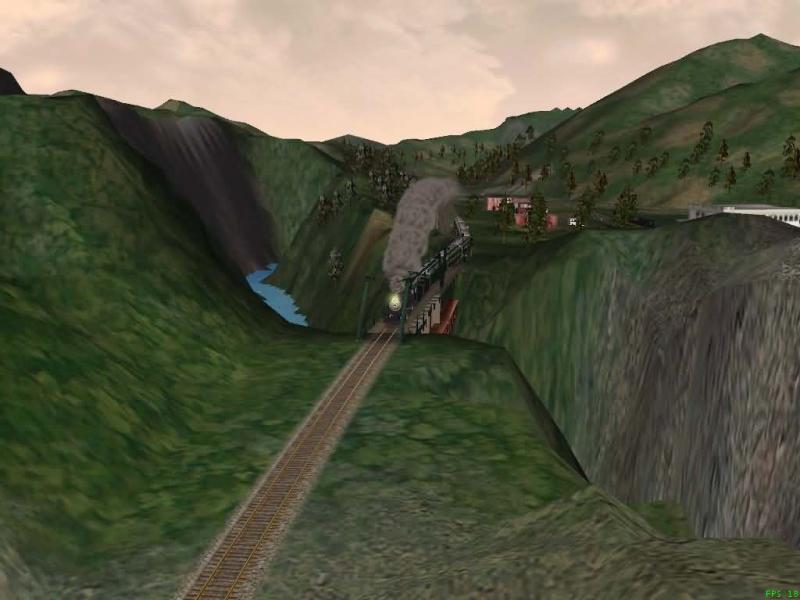
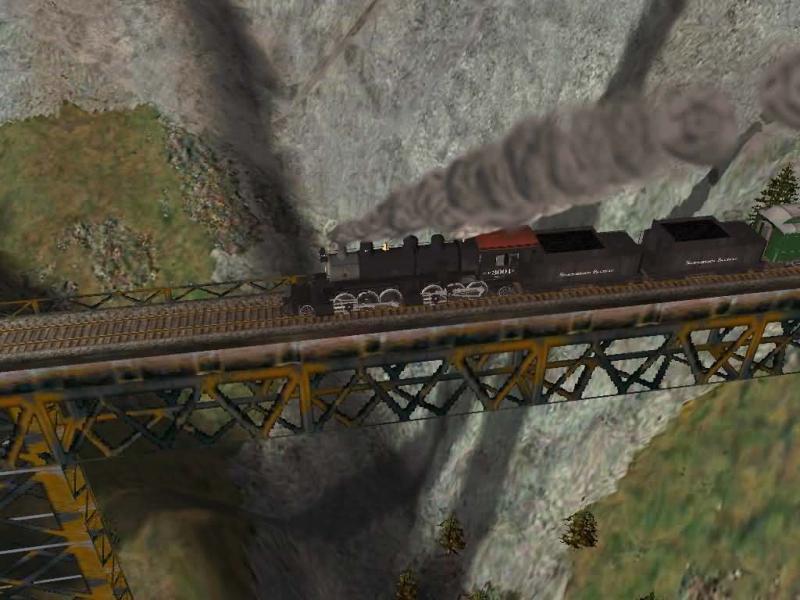
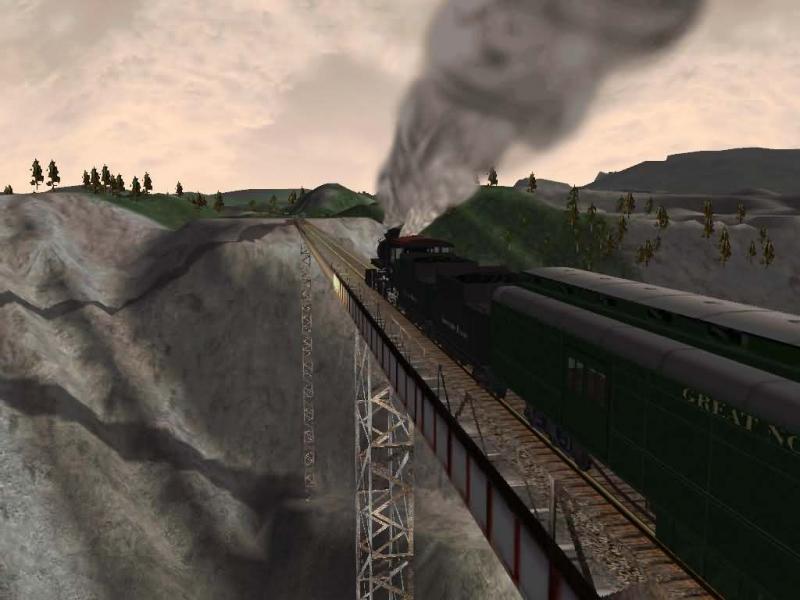
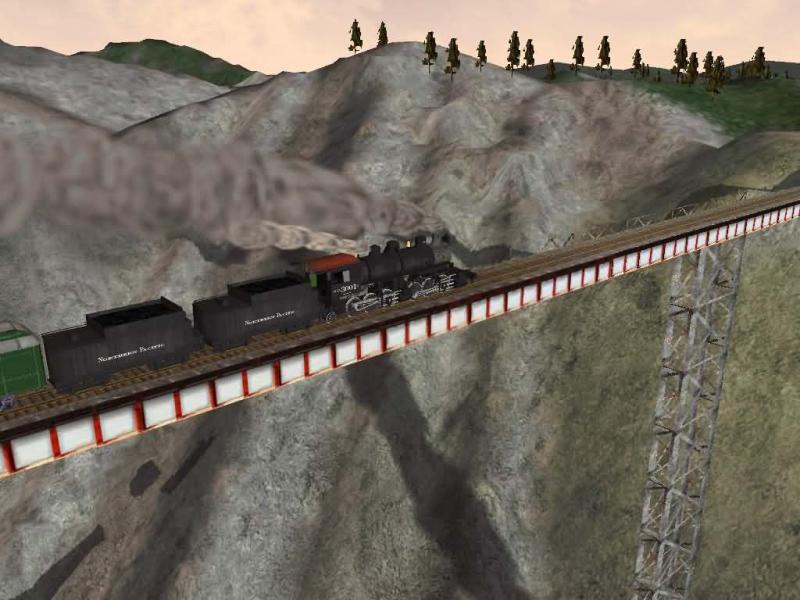
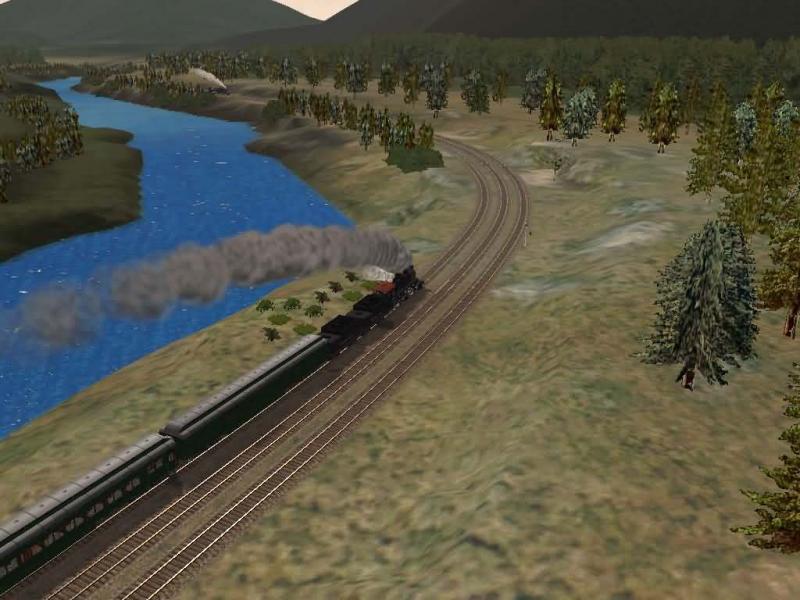
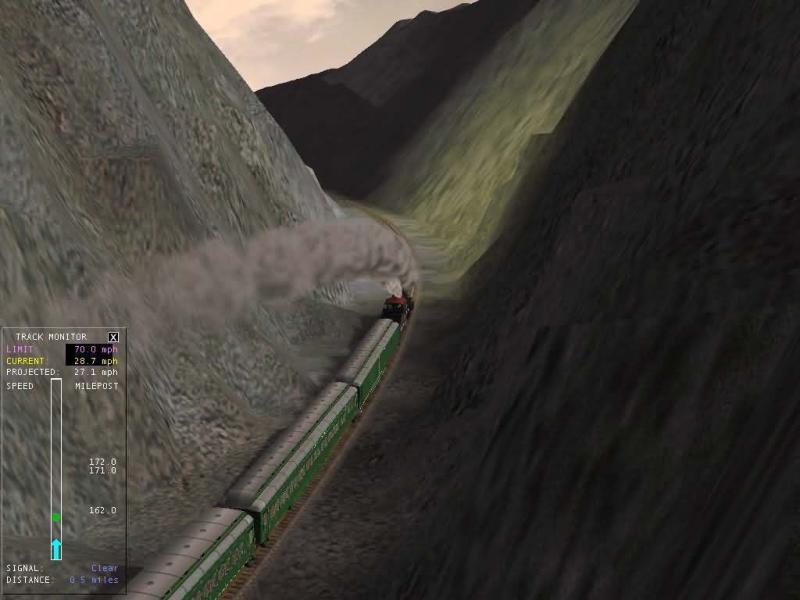
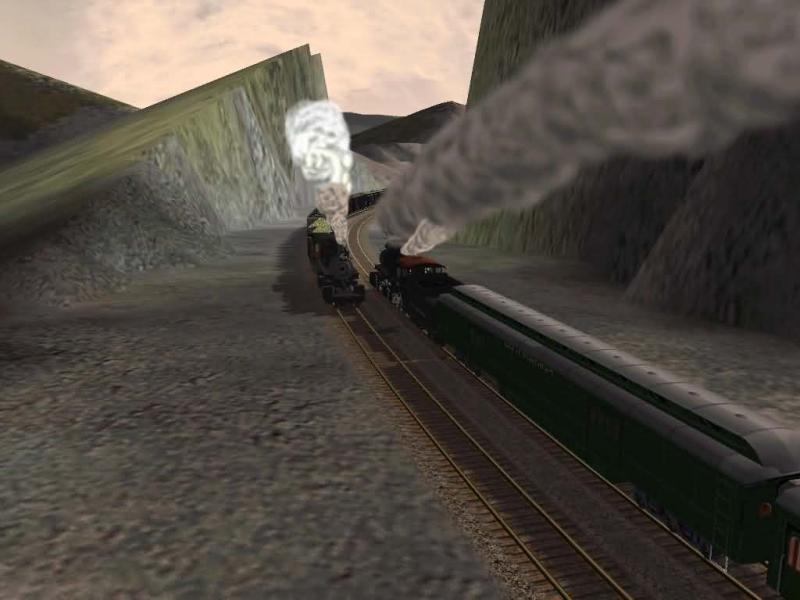
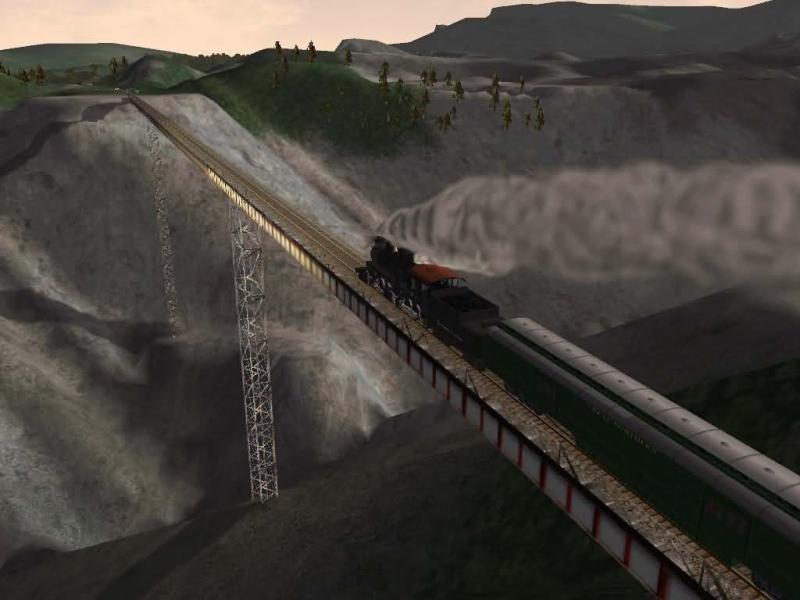
Check out this canyon area!
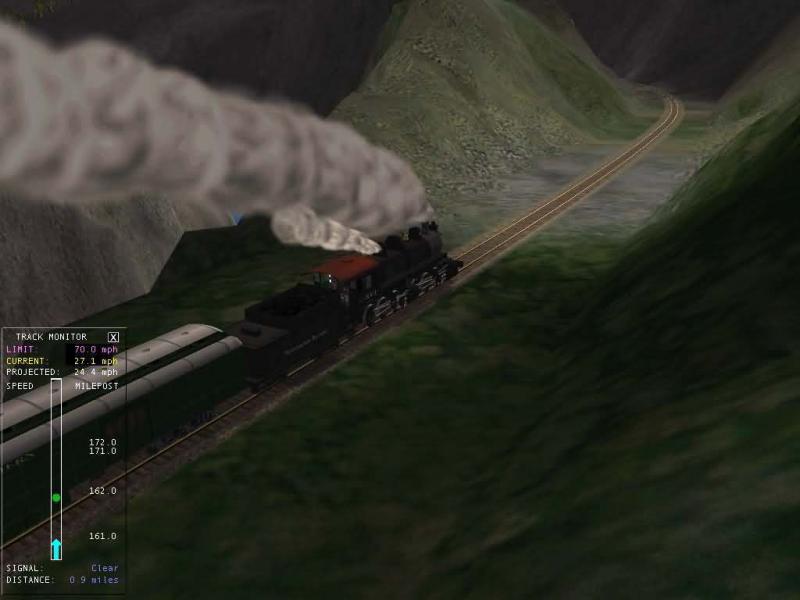
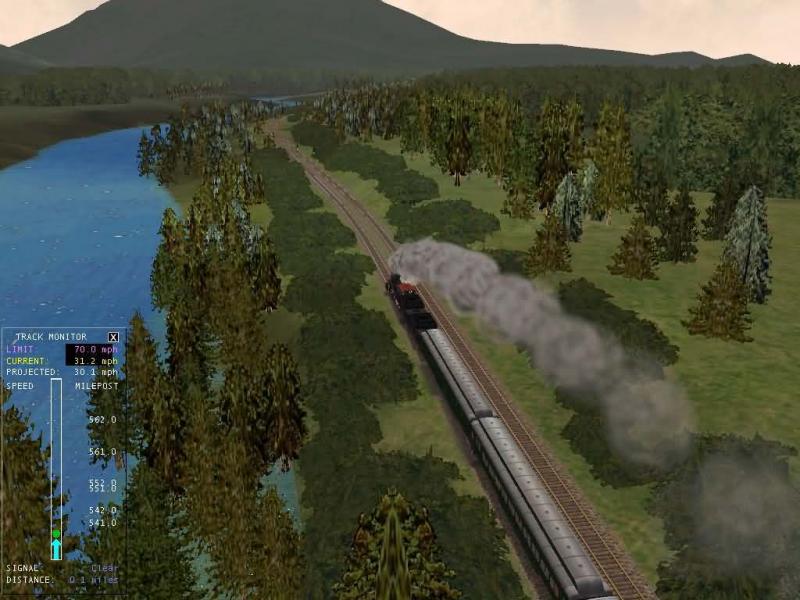
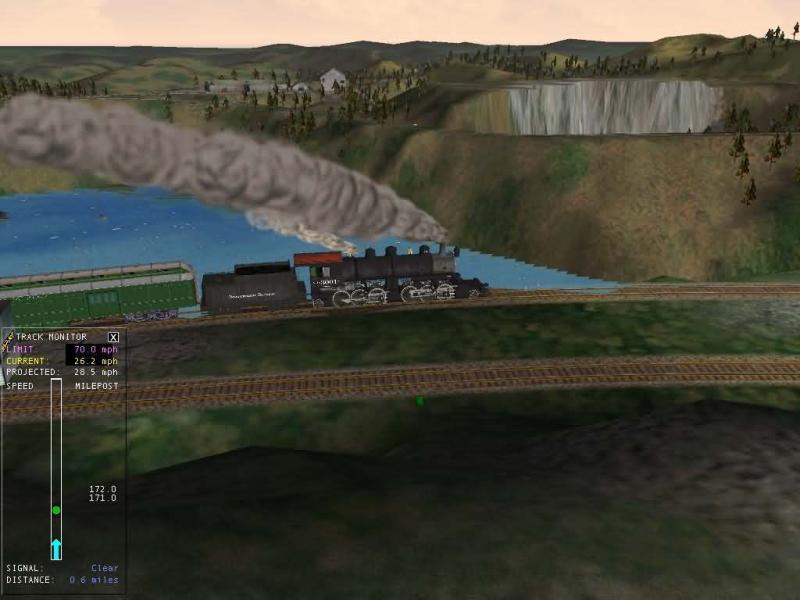
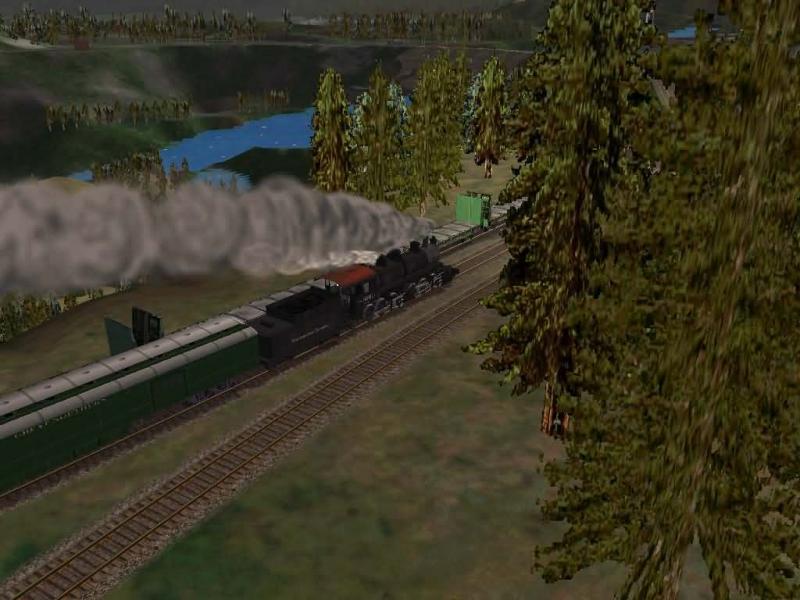
A waterfall visible on the distance.
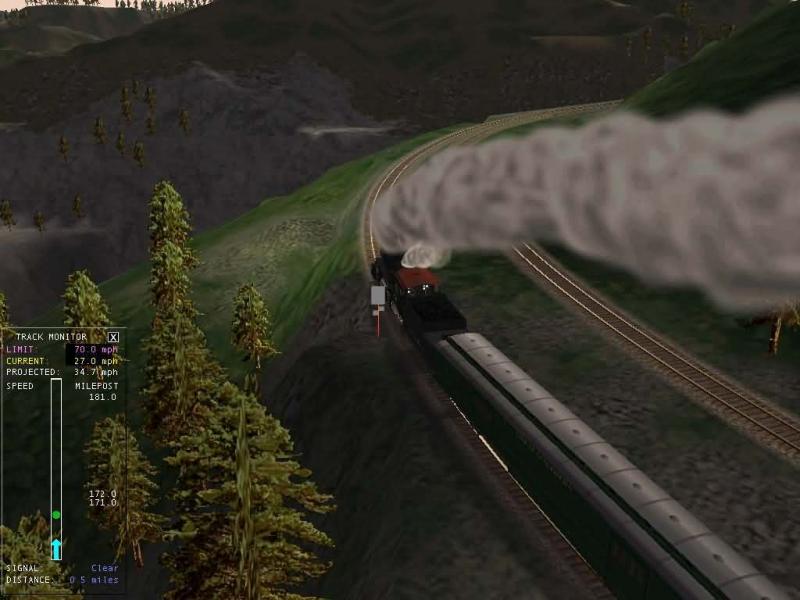
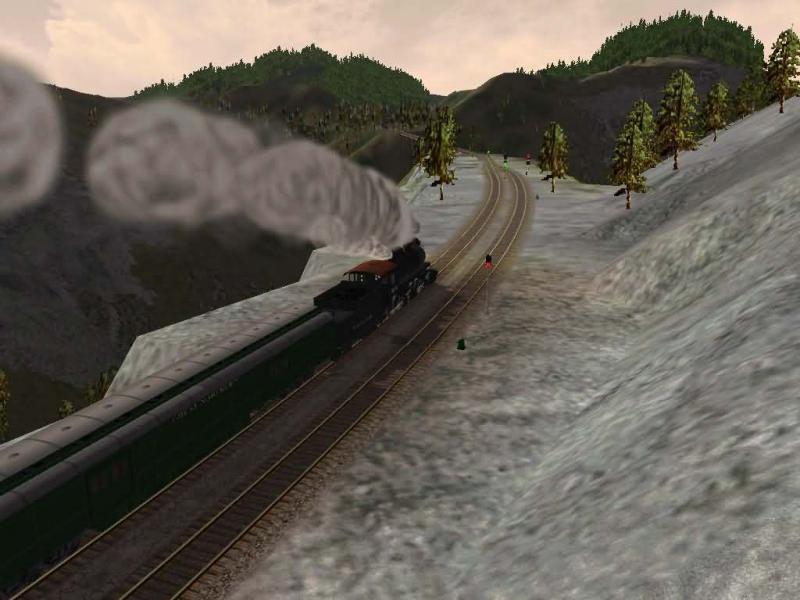
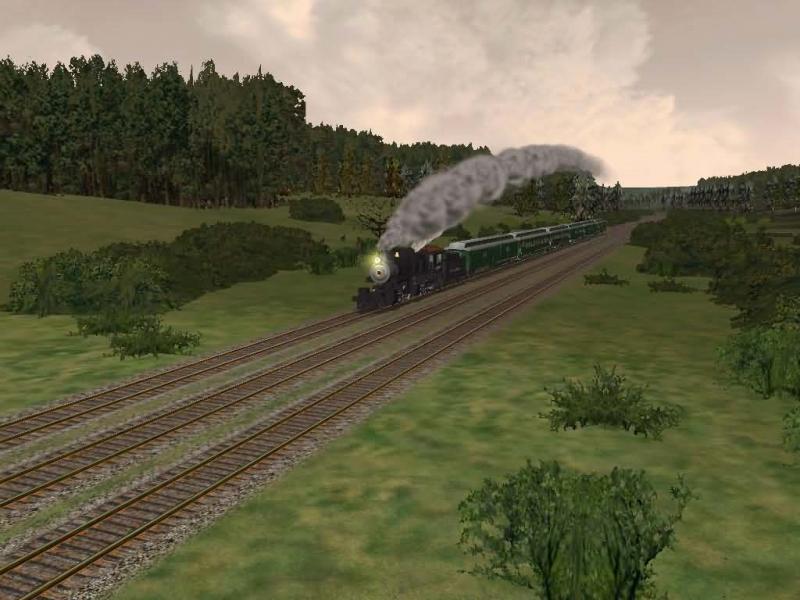
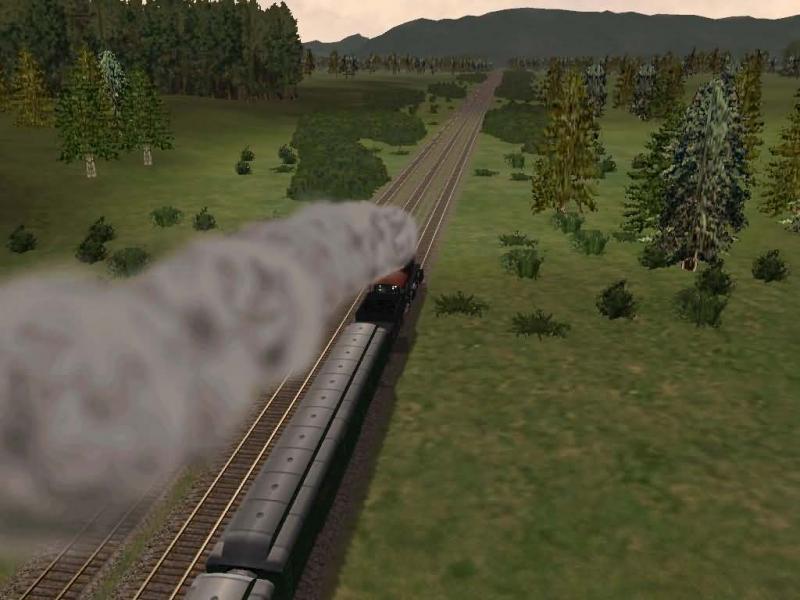
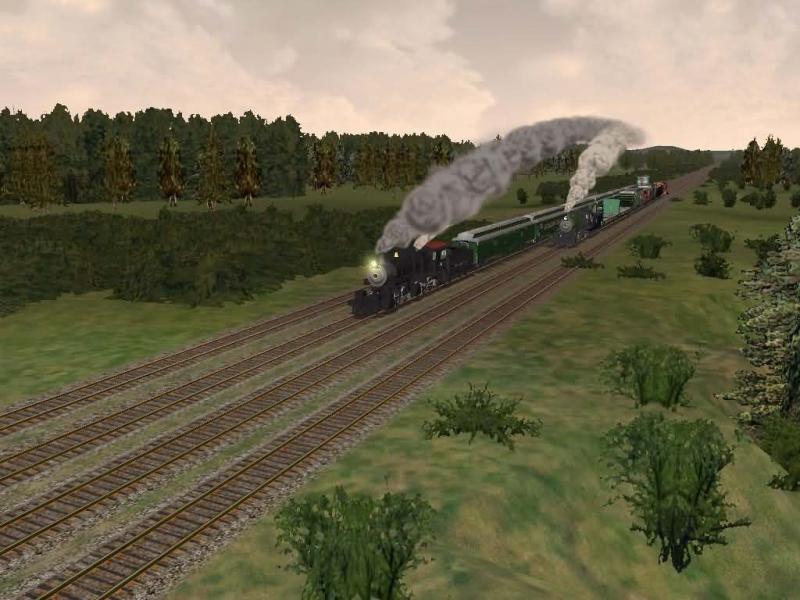
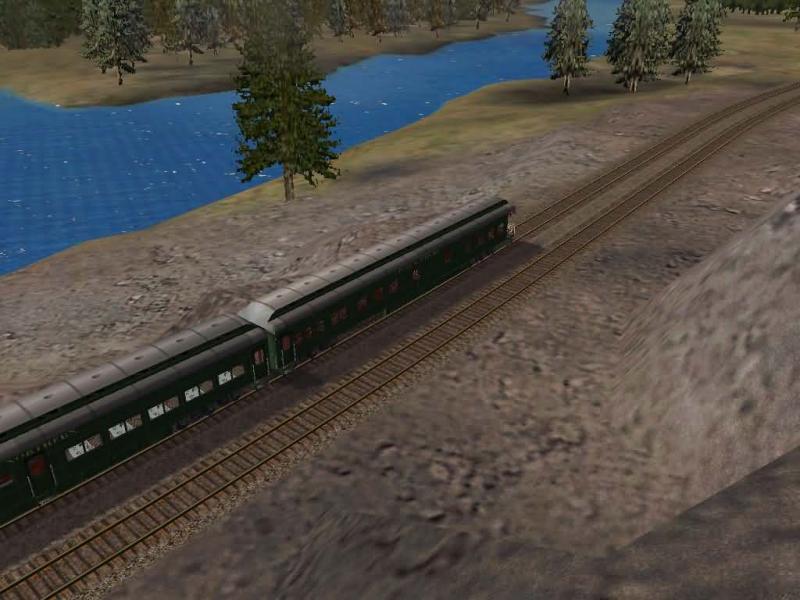
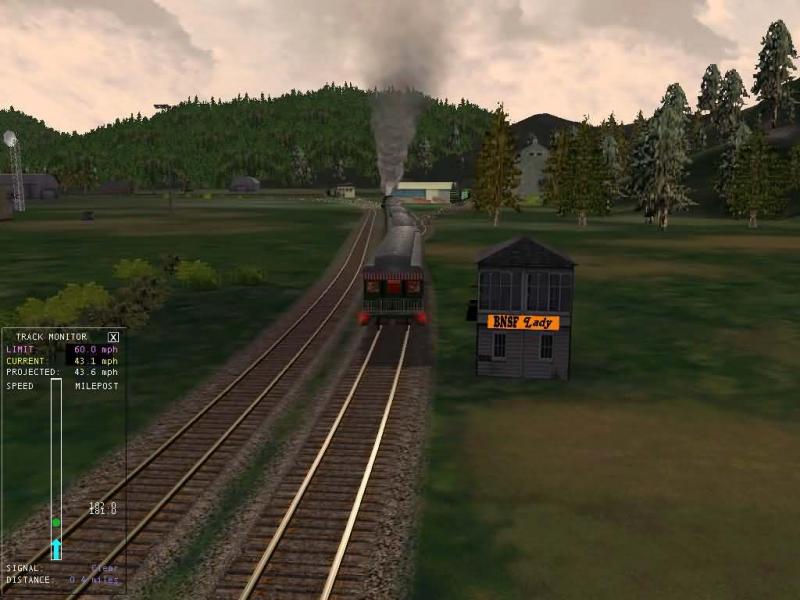
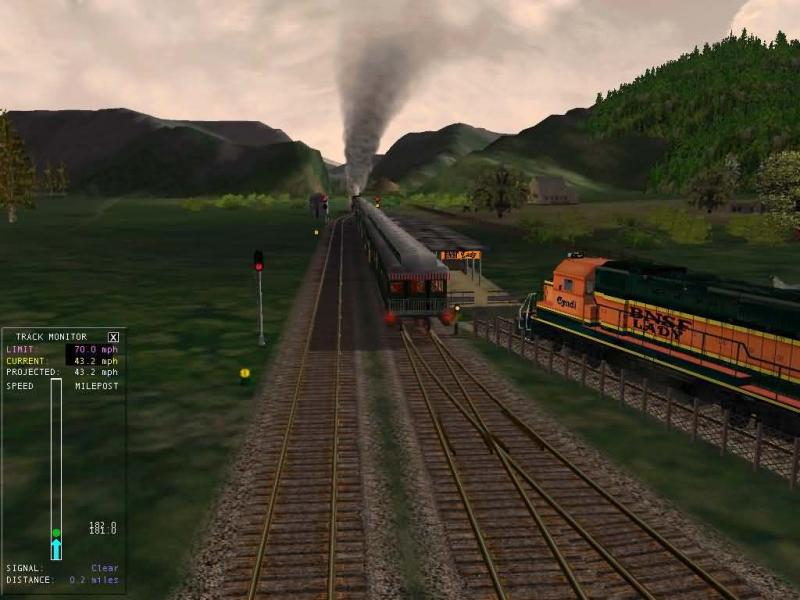
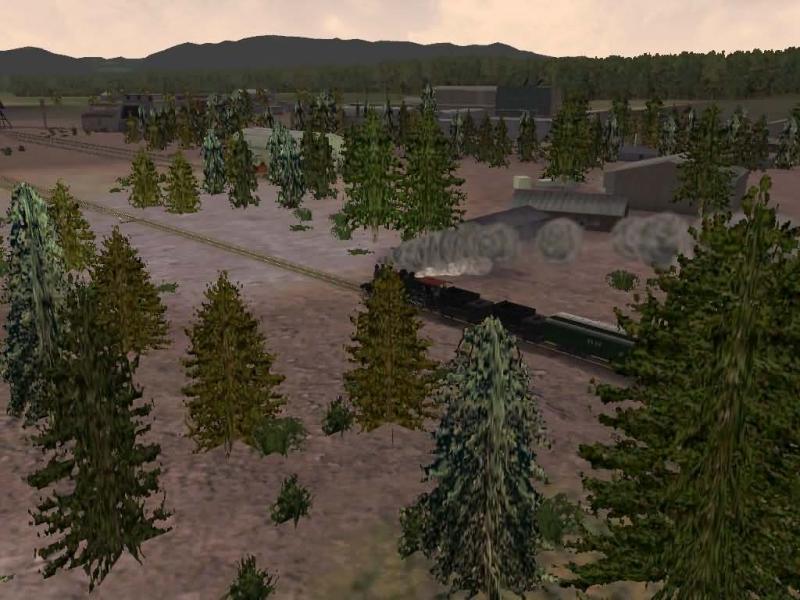
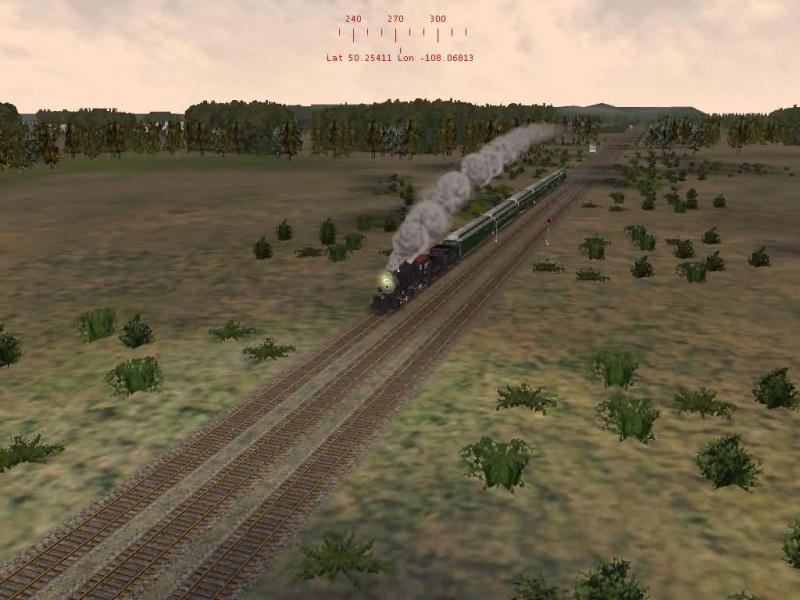
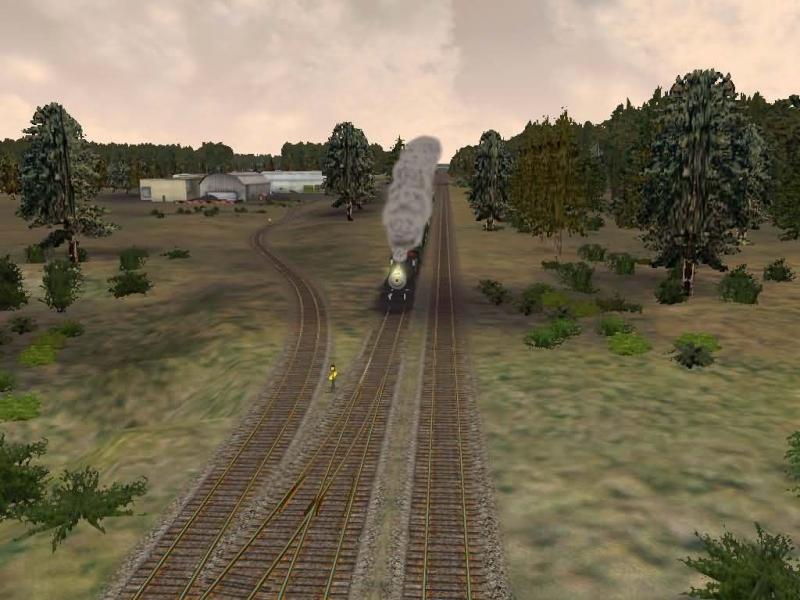
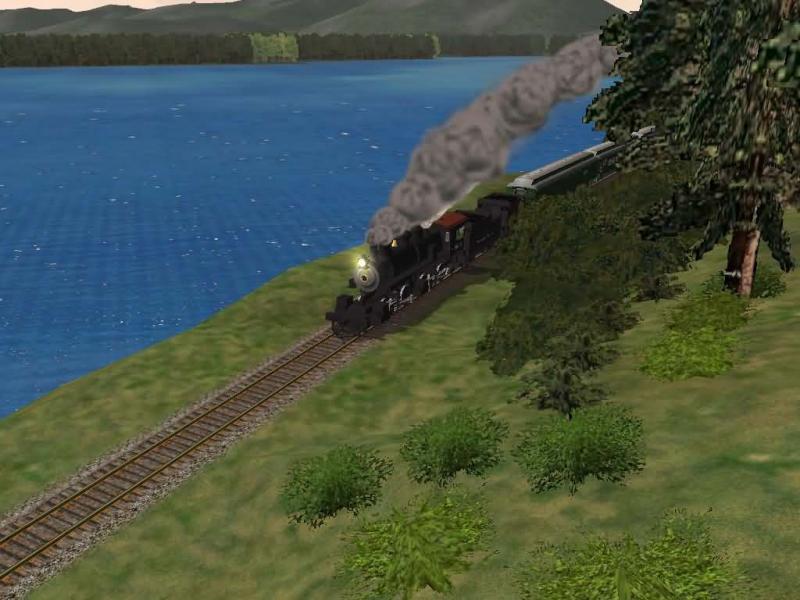
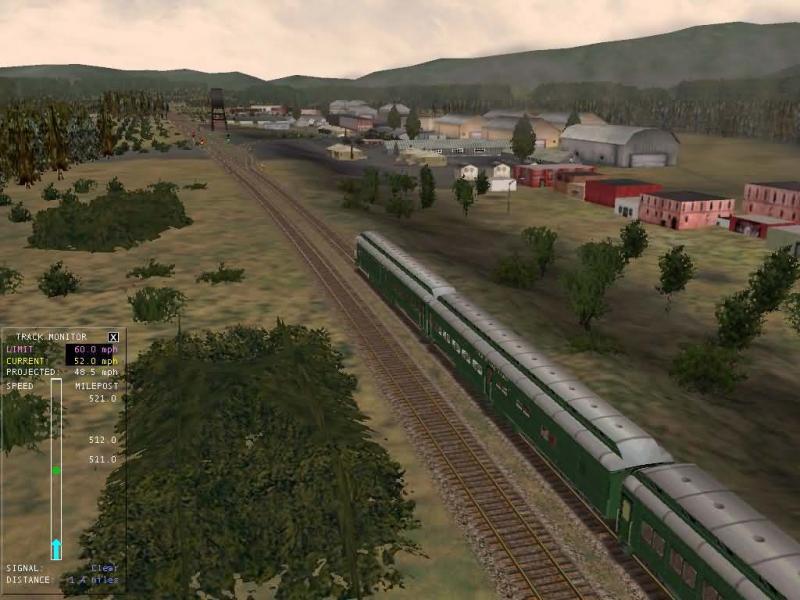
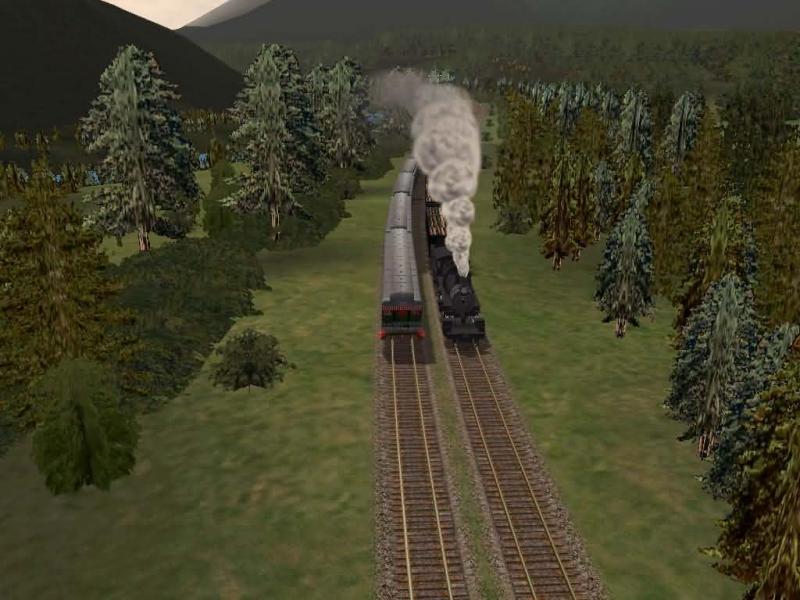
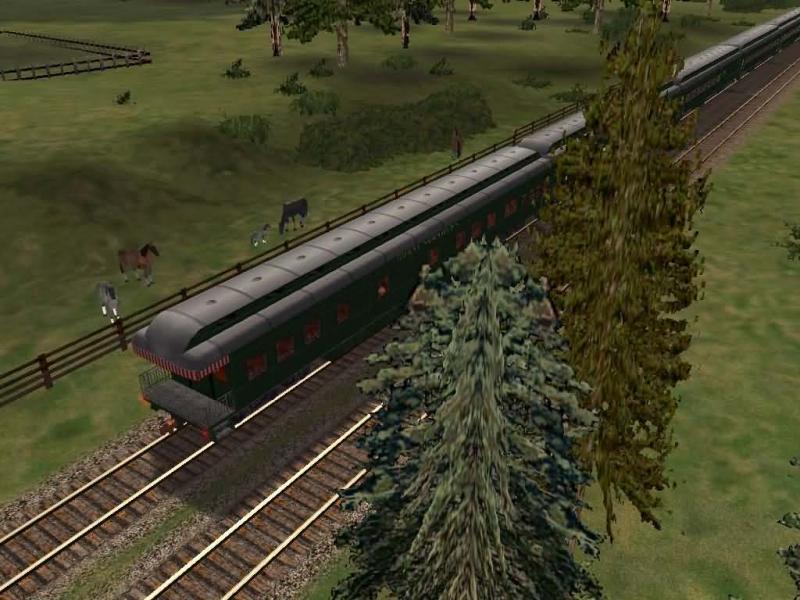
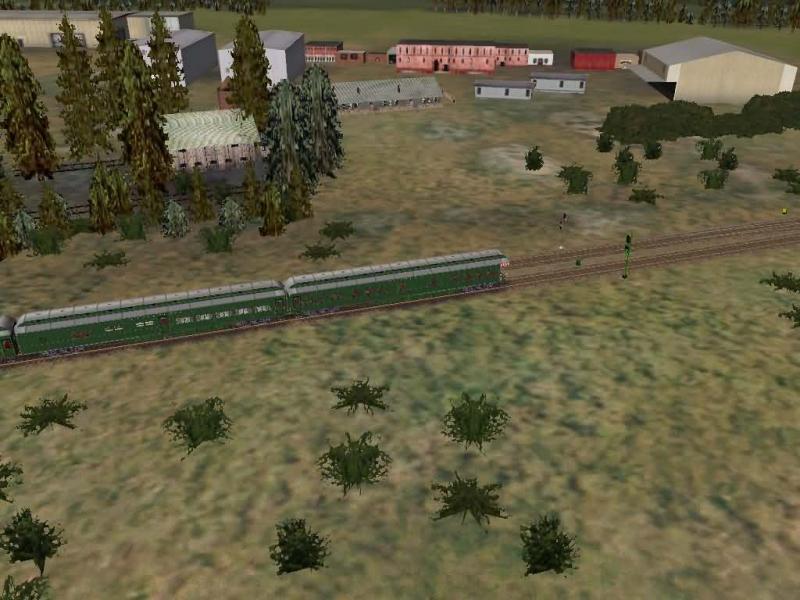
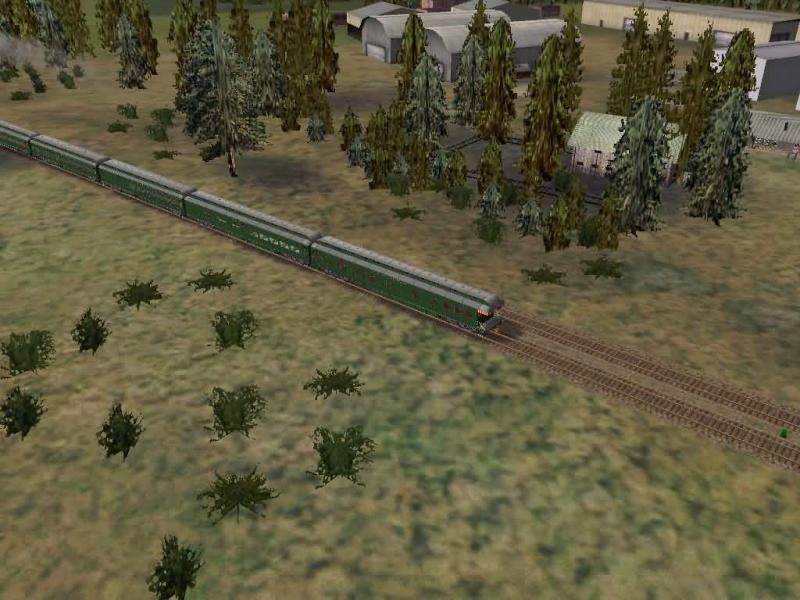
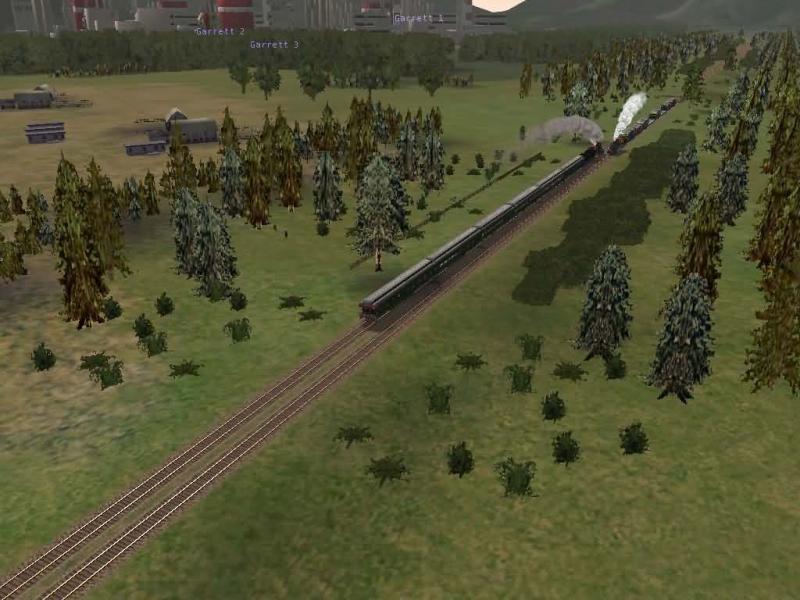
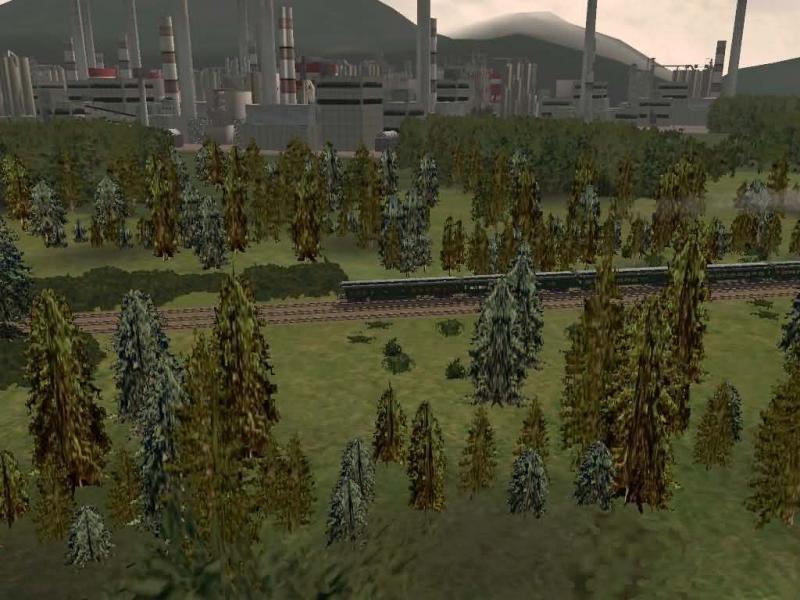
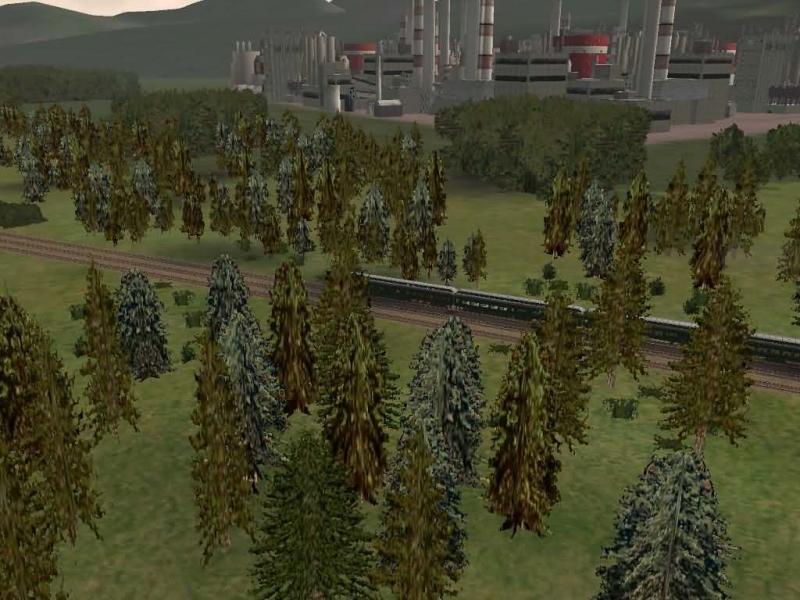
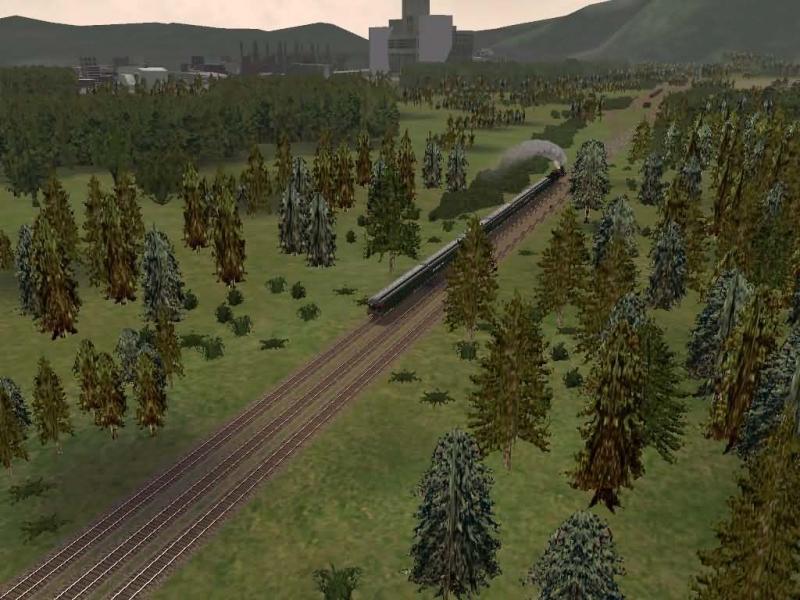
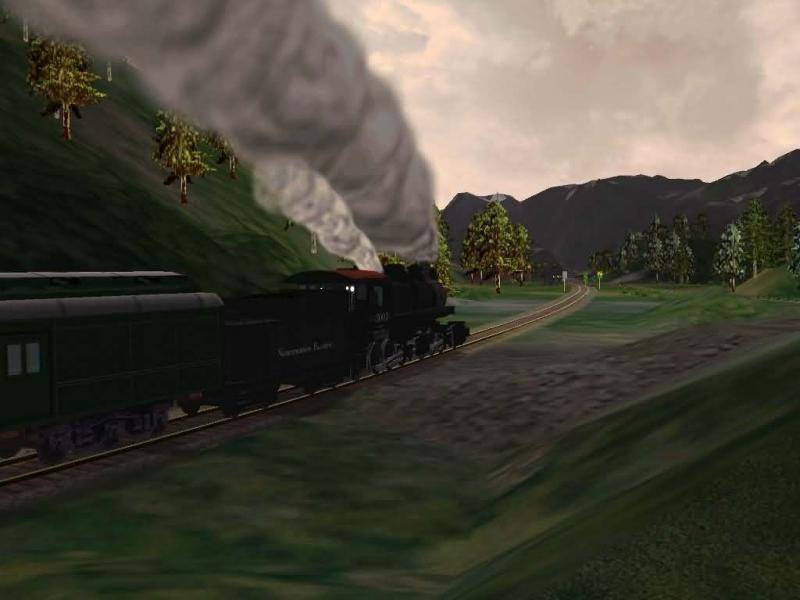
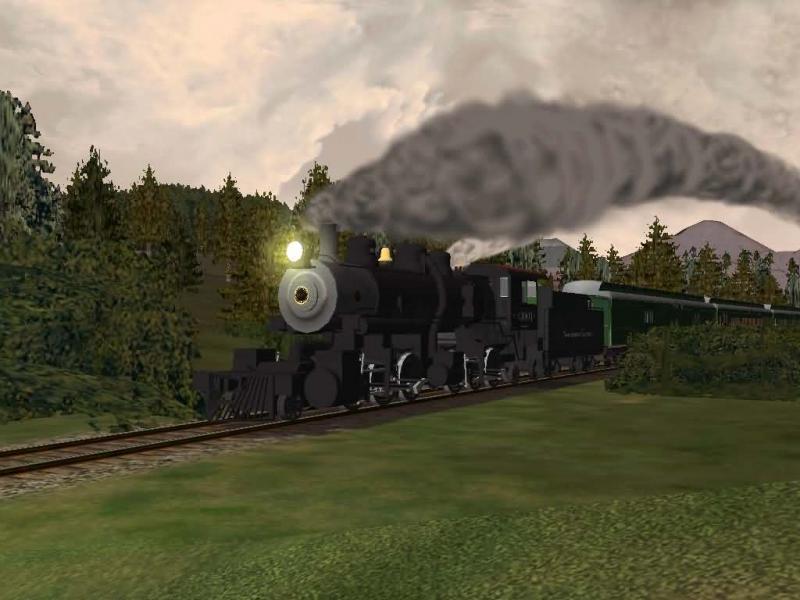
I really love the greenery on this route.
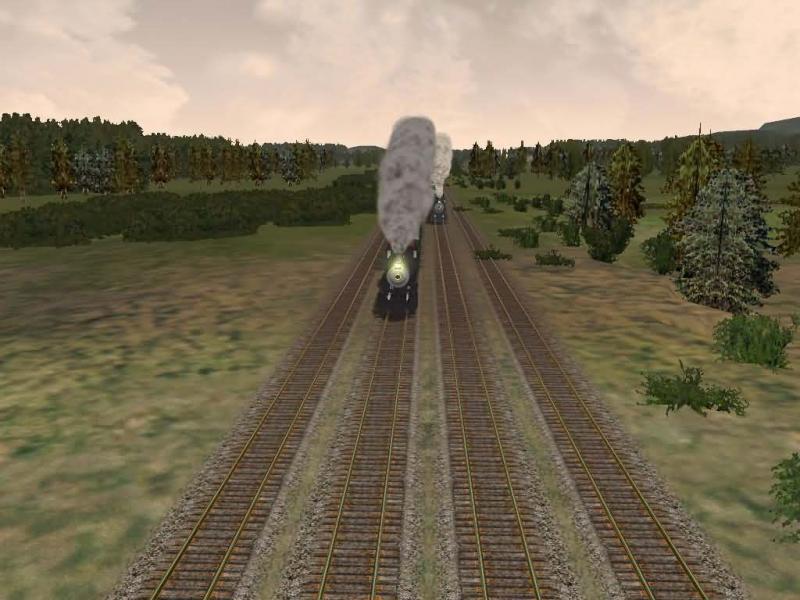
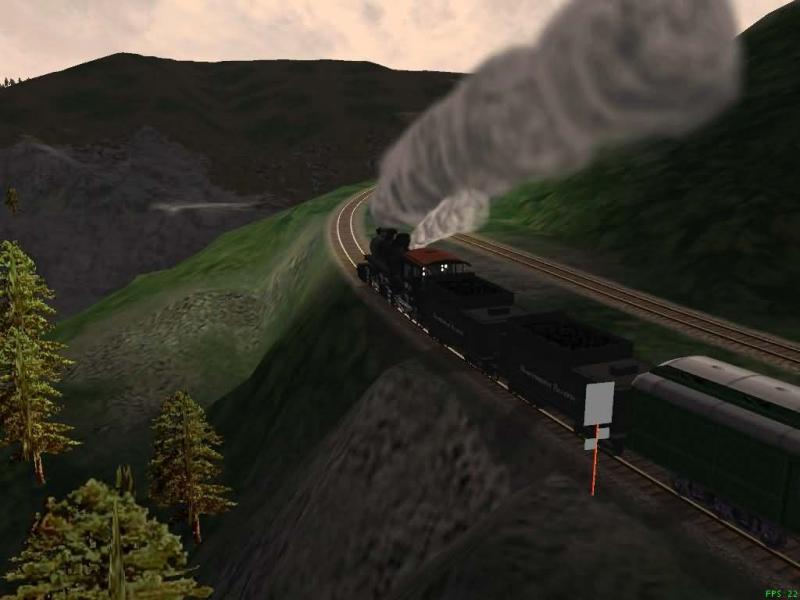
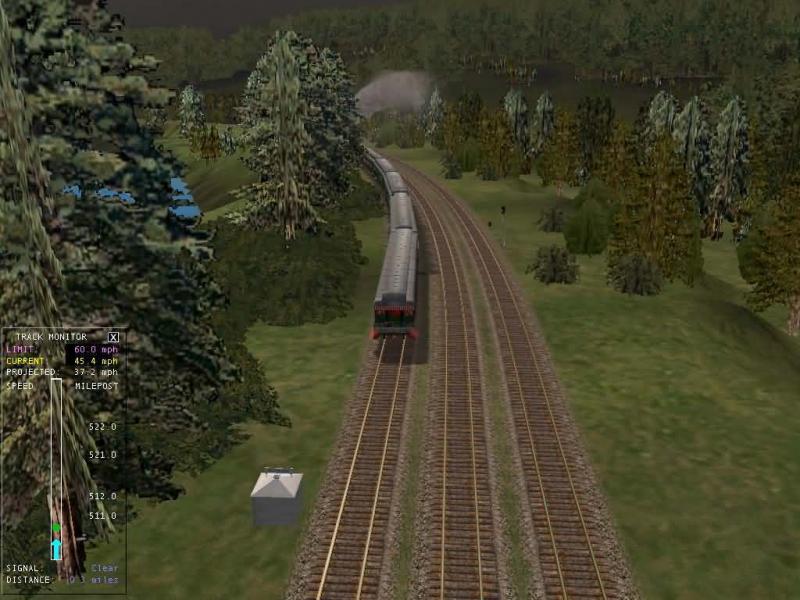
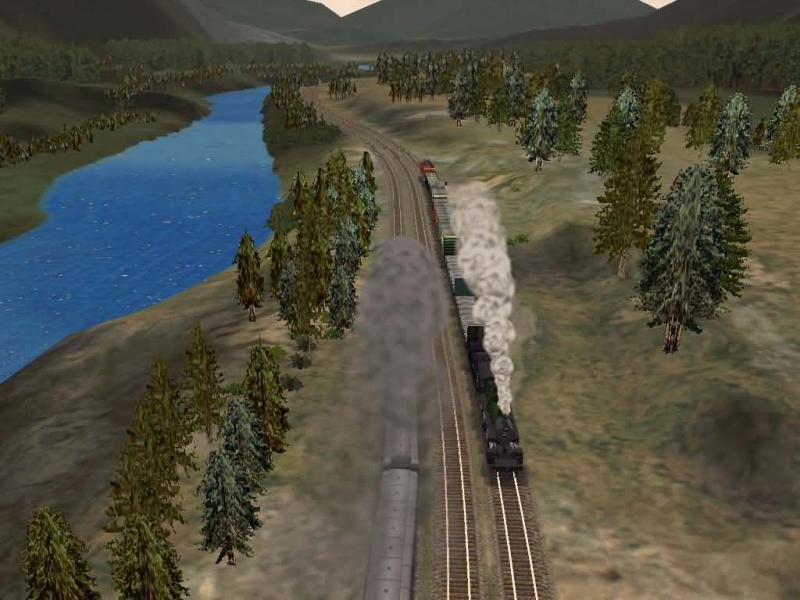
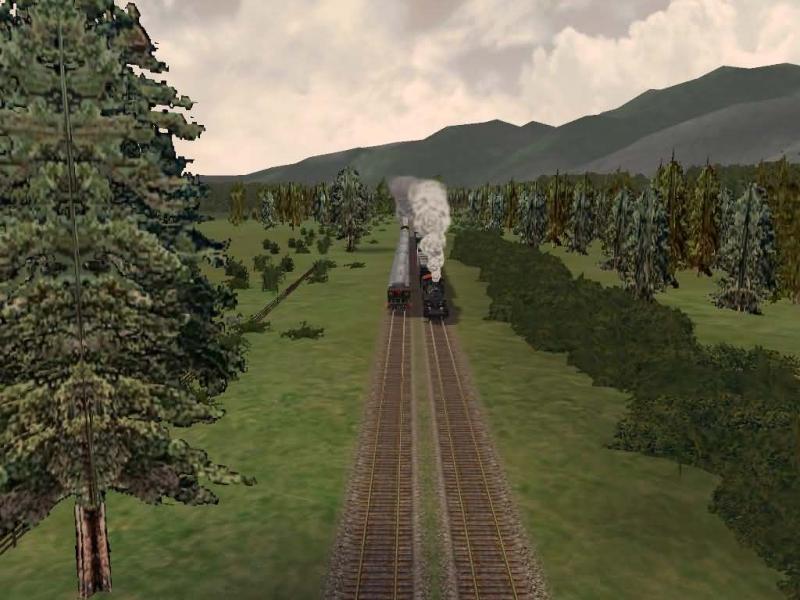
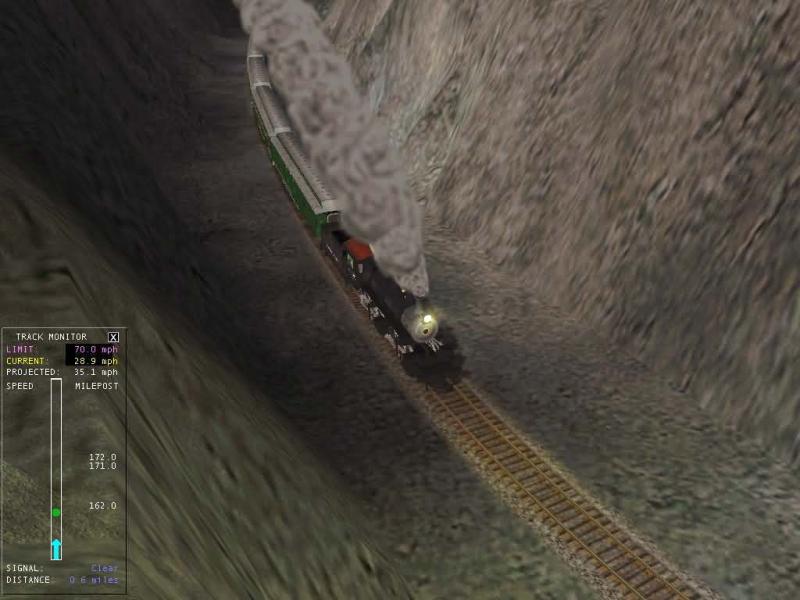
Here's another shot on one of the canyons with dual tracks.
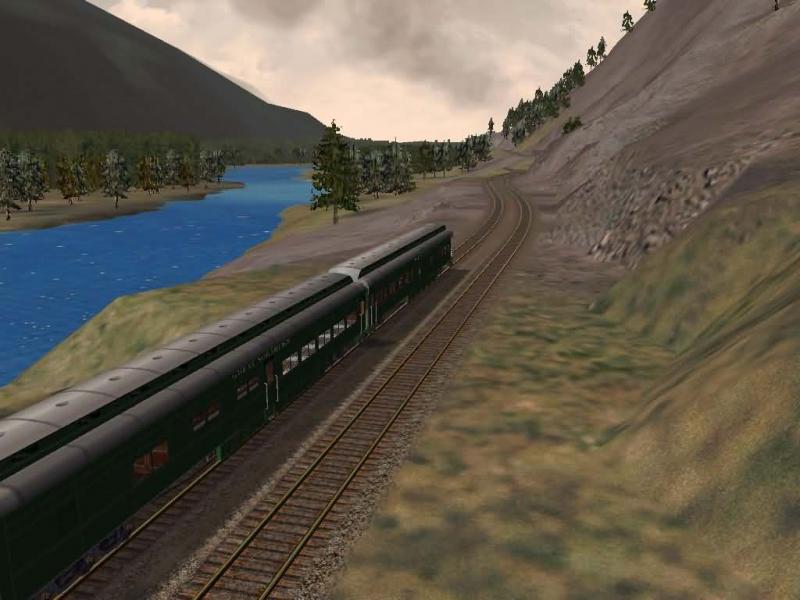
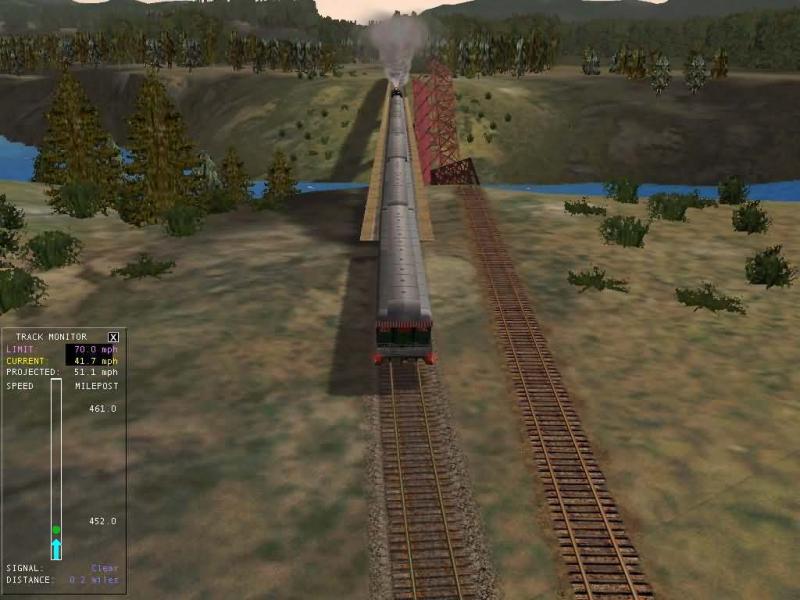
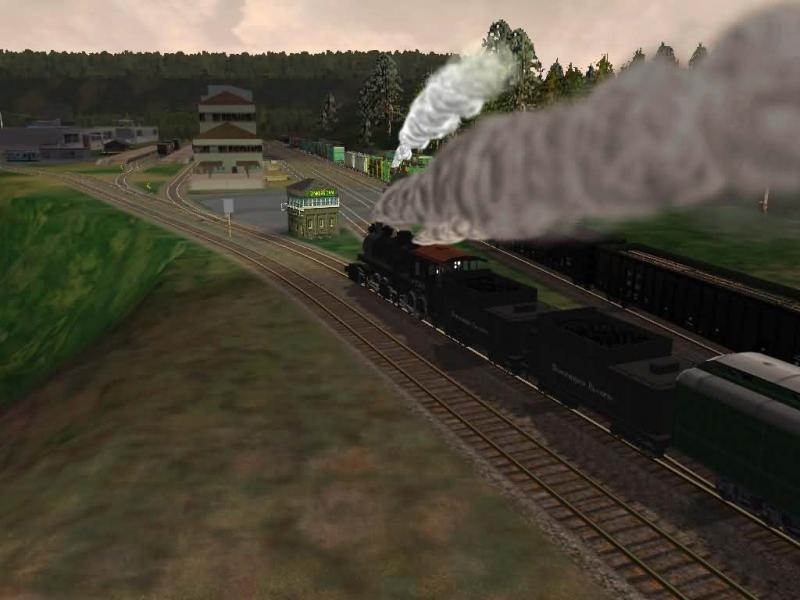
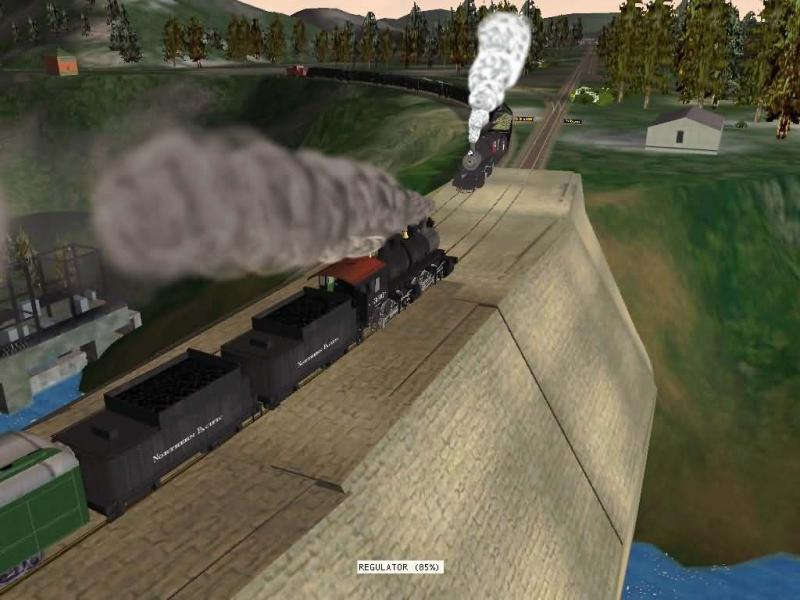
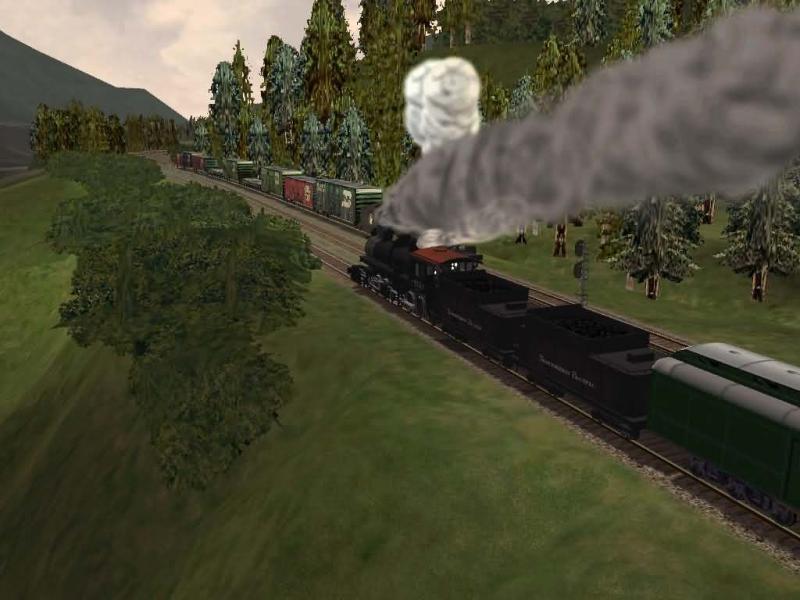
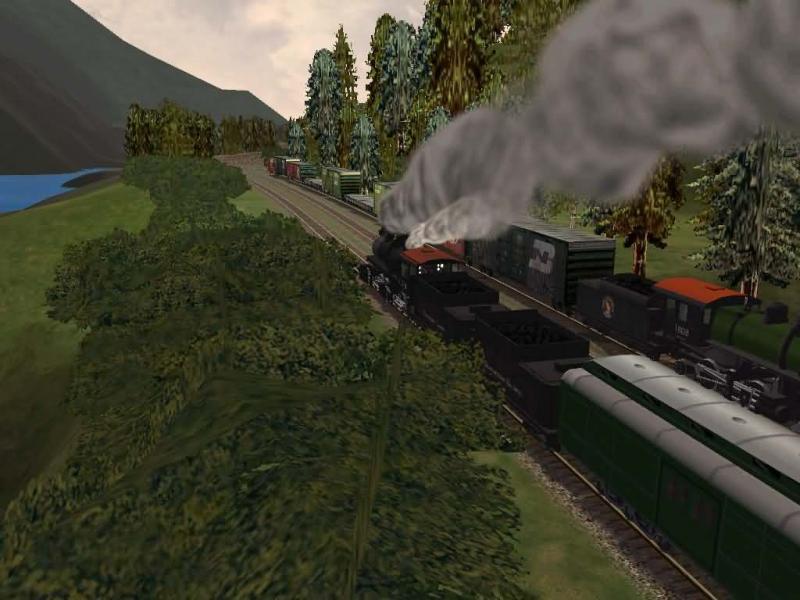
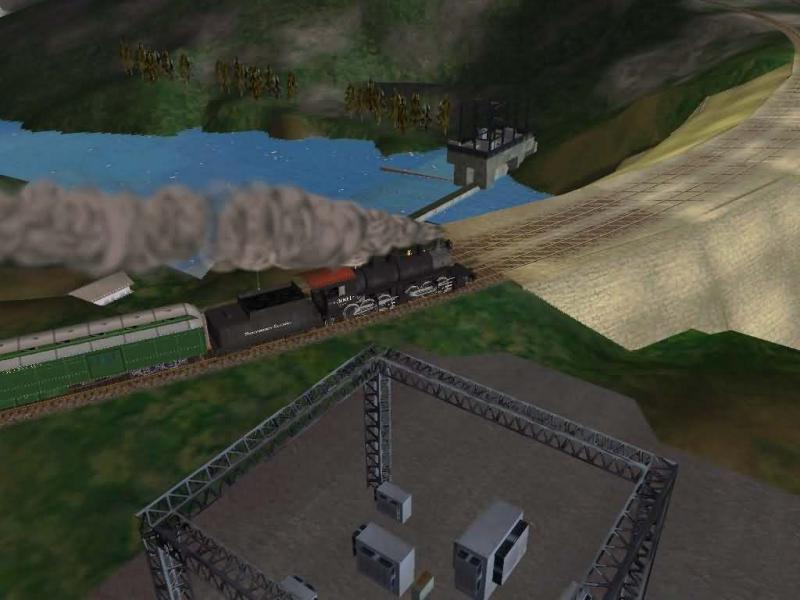
The next few shots will be on a dam area, the first ones being at the approach to it.
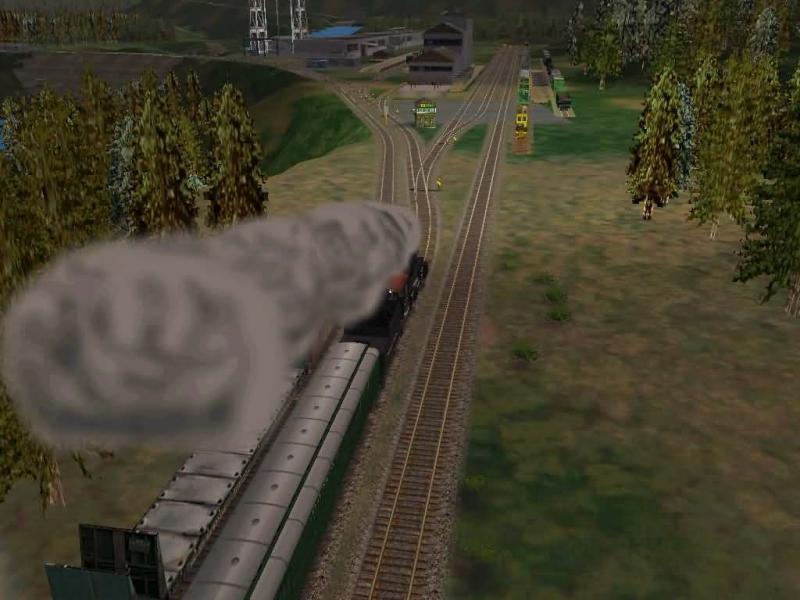
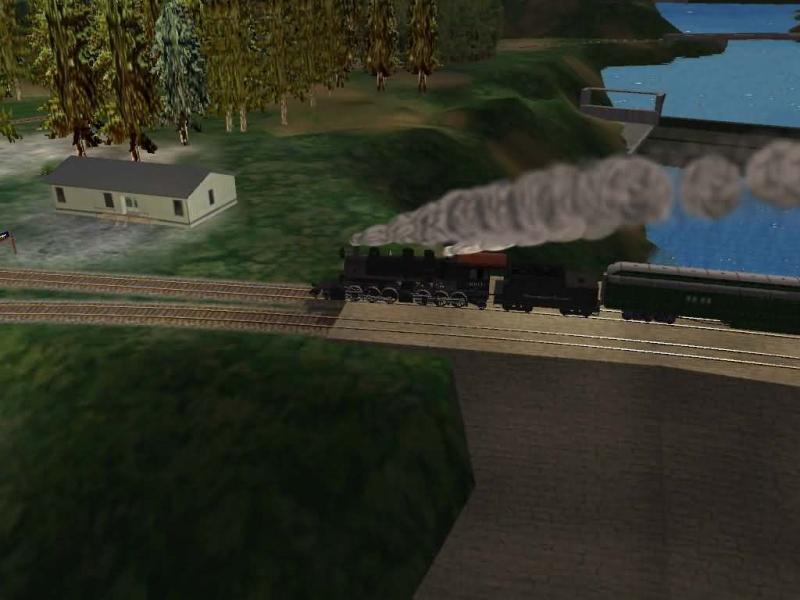
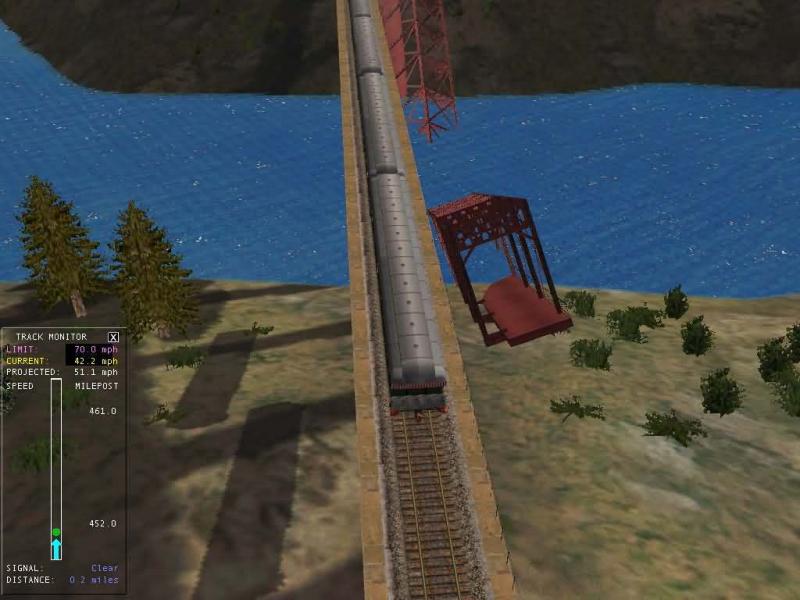
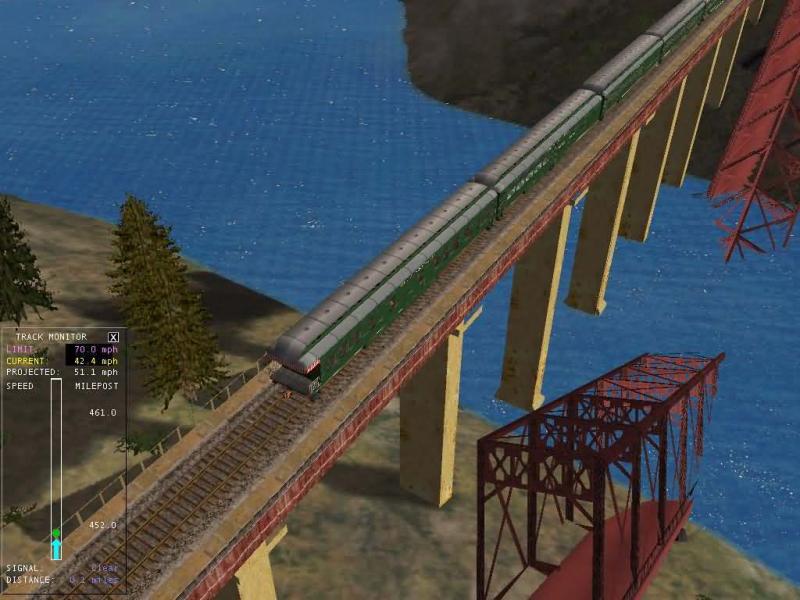
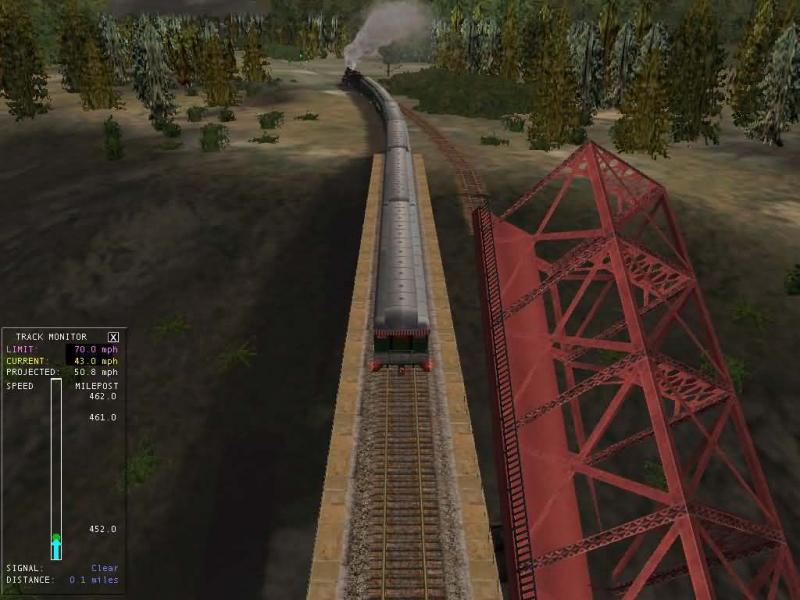
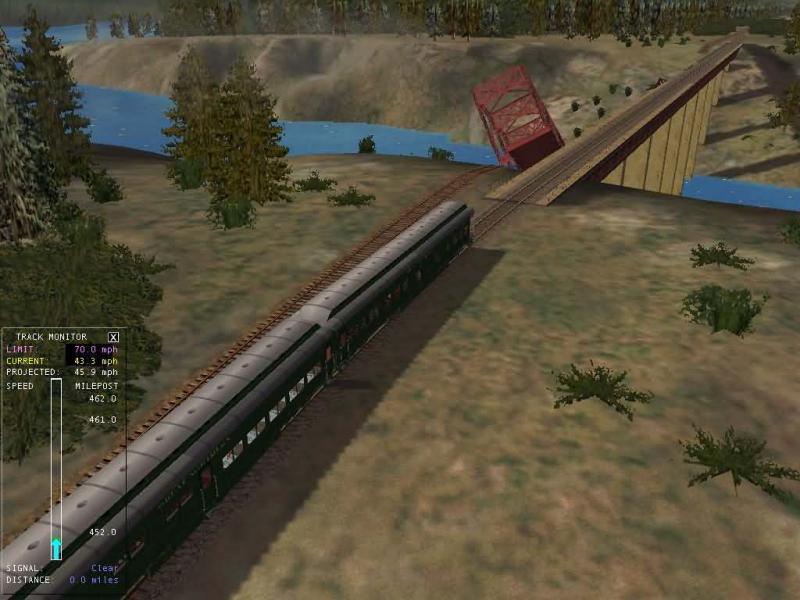
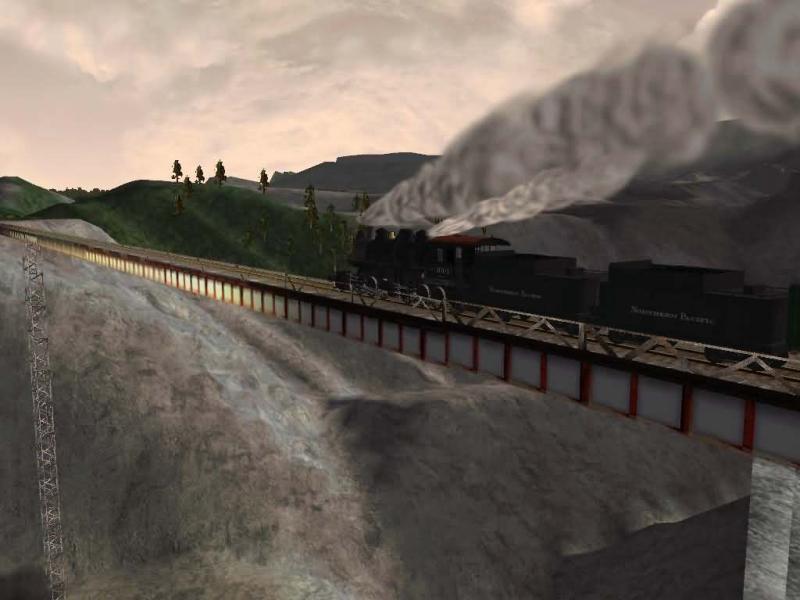
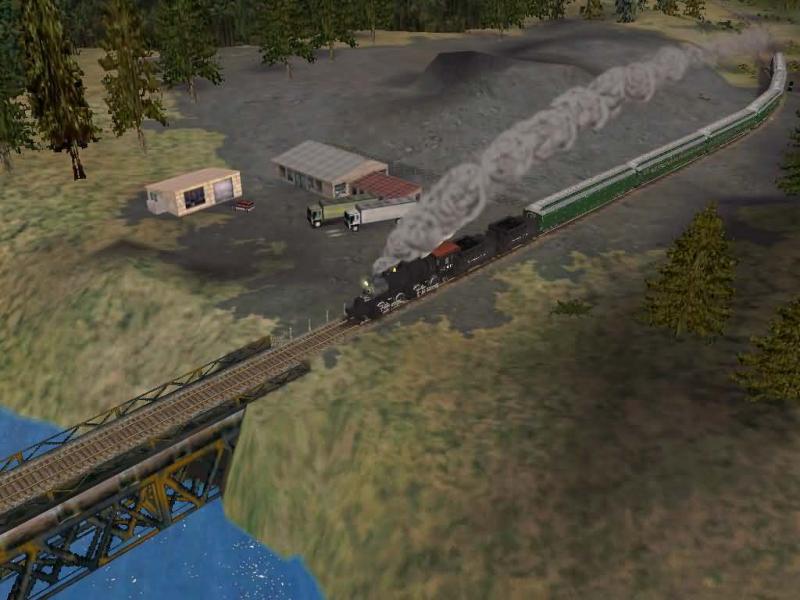
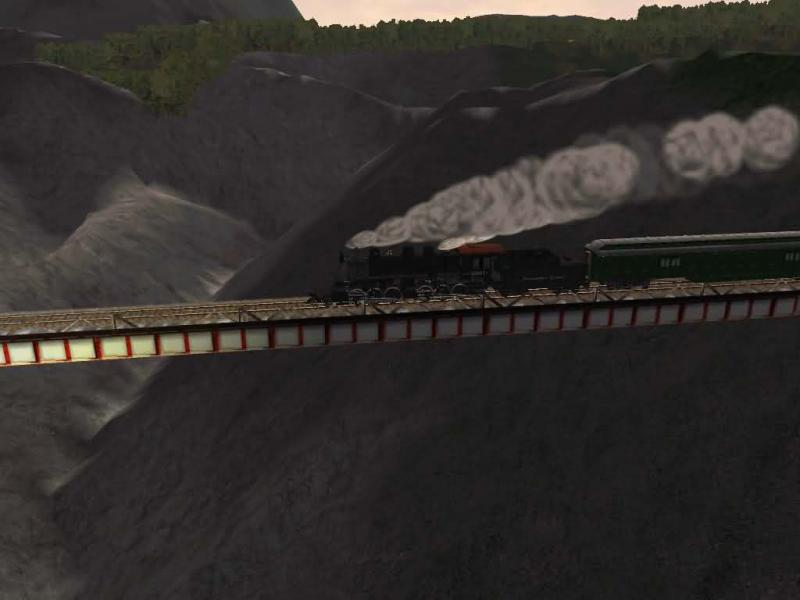
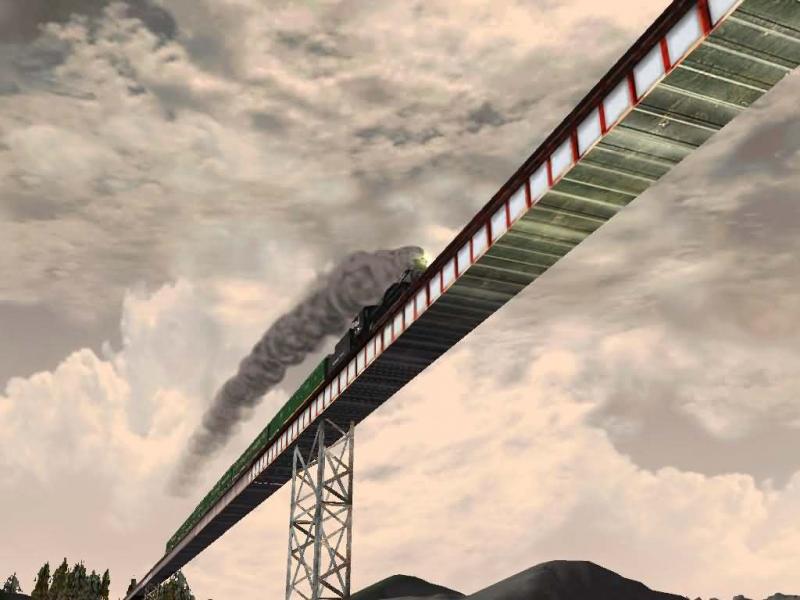
The bridge that separates the Port Ogden part to the start of the Marias Pass part.
That's the end for this part. I'll post some more in continuing posts to this thread.
Page 1 of 1
A look at the Port Ogden and Northern Route V10 Reliving this nice route using all steamers!!
#2
Posted 21 May 2008 - 04:38 PM
The PO&N has always been one of my favorite routes, although I haven't looked at it in quite a while. I recall it being one of the first routes that I looked at the seemed to be constructed with train operations in mind, not just miles and miles of running through freight or passenger service, but more in tune with local freight and passenger operations.
Thanks for jogging the memories.
Bill
Thanks for jogging the memories.
Bill
#3
Posted 21 May 2008 - 04:48 PM
Here's more on my to be continued parts.
This sections here will show bits of Marias Pass as portrayed by Jim Ward.
The next few shots are of the Whitefish area and its huge yard. All the rolling stock here are part of the scenery with exception of an AI yard train going back and forth on the distance. You can see the steam out of that yard train going back and fort at the first two shot below.
Here's the Whitefish train station.
So now we will depart Whitefish.
The next is the following areas east of Whitefish.
Here's the nice part of the tracks here. Passing one of the slow moving AI trains.
This is the yard of Columbia Falls.
Here's one of the nicer views on the river.
I didn't even know there was a tiny island on the river.
The next one is the bridge section that broke! :D :D
The nice thing about the activities is that they are open so you can just modify the existing ones as a template and make your own or even just explore using even the supplied activities. Anyway, this is end of part 2.
#4
Posted 21 May 2008 - 05:18 PM
Thanks for the comments Bill!
I'm continuing where I left off. Here's more of this broken bridge section.
This is the Coram station. For a steamer, this is one of the stations where you can have water filled up.
This next batch is another look again at the area on Port Ogden. This first one just coming out of the area called Huff.
Checking the deep drop on this bridge area. I would hate to fall off of that one! :D
The area dedicated to BNSF Lady!
Again at that dam, the name is called Tinkers Dam.
And the bridge crossing called Van Den Hoven just before getting to the Marias Pass area.
And now will be entering Marias Pass.
The westernmost area of Whitefish again.
The next one here shows the western most entrance to the Whitefish yard.
Here's the yard.
We'll see more of this on the next post. Thanks all for looking.
This post has been edited by ED_4: 21 May 2008 - 05:20 PM
#5
Posted 21 May 2008 - 05:31 PM
This will be the end of my part 4 of the series here. Instead of the 20 shots earlier.
I will just have only ten on this, until I continue with more on my trip around the Marias Pass side.
More of Whitefish.
This is now approaching Columbia Falls again.
Passing a waiting freight train.
The Columbia Falls yard sure looks huge here compared to the default. Nicely done.
And here's Coram's station. I will take a stop here to drink up some water on my steam engine.
Again, thanks for looking. That's it for now. Until another installment on the trip.
#6
Posted 21 May 2008 - 10:20 PM
Here's the next batch. This part 6 will contain 20 images.
This wide part of the river at Marias.
This is the area of Belton.
Passing a fellow steam engine pulling freight.
A couple more of these passing freight traffic.
Just more at these lush green trees.
A lone establishment beside the tracks and by a bridge.
Here's some horses by a barn. The barn is further back just barely visible on the frame.
Here's a tiny town just west of Garrett Mills.
We conclude this installment at this point. With Garrett Mills starting on the next part.
Thanks.
#7
Posted 23 May 2008 - 09:41 PM
Here's the final installment on this already now fairly long series of shots. Sorry for that. I just had to shoot these interesting shots of this place.
Anyway here they are. Right were we left off at Garrett Mills with another one of my steam meets.
Garrett Mills is easily seen here. A huge Mill!
What's looming ahead is the next section called Bzak.
This is he entrance switch to Bzak.
These buildings around here are absolutely huge!
The Bzak yard is just up ahead with all the loading gantries overhead.
The entrance tower indicating where we are.
Some of this stock can actually be pulled if you manage to find where to pick them up. The switches here are manual. So even if you are in an activity, you can switch to them and do some pick ups.
This yard is huge. It took me a while to get to the other end. These aerial view will easily show how large.
This last switch will take you back to where we left if taken.
The last section is the easternmost of the entire route at the end of Bzak Yard, which in this case also has a loopback to the way you started if you want to carry on running the route going the other way.
Activities made here can easily last for hours on end if you carry on picking up freight and dropping them off. Lots of them just standing on tracks around the side. However there are sets of tracks here that look like you can pick up but are actually just cosmetic to make the yards look like it's not empty. These tracks cannot be entered but are great for filling the yards with loose like consists. But without the FPS sacrifice of an actual yard filled with real loose consists.
All in all this route is an excellent route to those that like track switching and you will have lots of fun with this, if that's your cup of tea. But even a passenger type runs on these will prove just as inteesting to be able to loop back where you came from. Truely a nicely crafted route. On the west side at the Port Ogden section, I'd warn you really need that track map or you may find yourself getting lost. :o :D B) :D
Anyway, that's it for this entire thread for me. The next post I do will be with my trip around the Silverton Branch on a new thread.
Thanks for looking.
Page 1 of 1