Log In
 Register Now!
 Help
Help


 Csantucci, on 22 January 2022 - 02:23 AM, said:
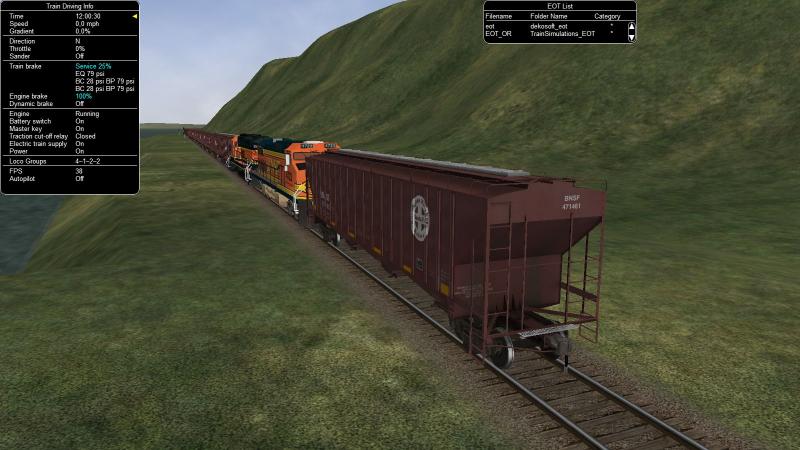
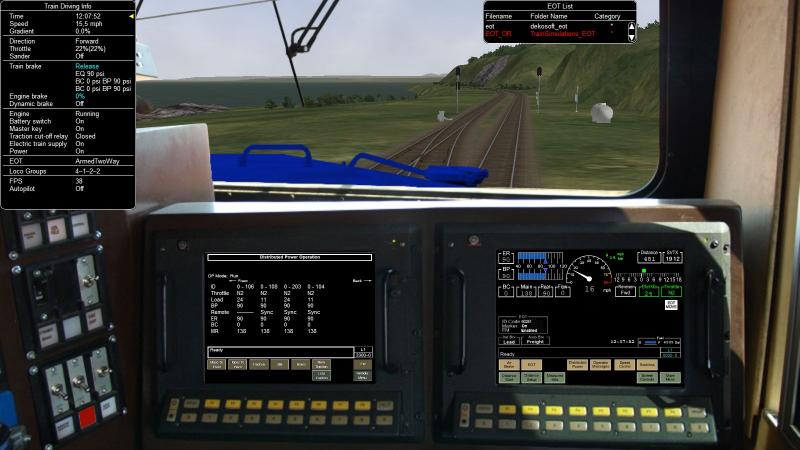
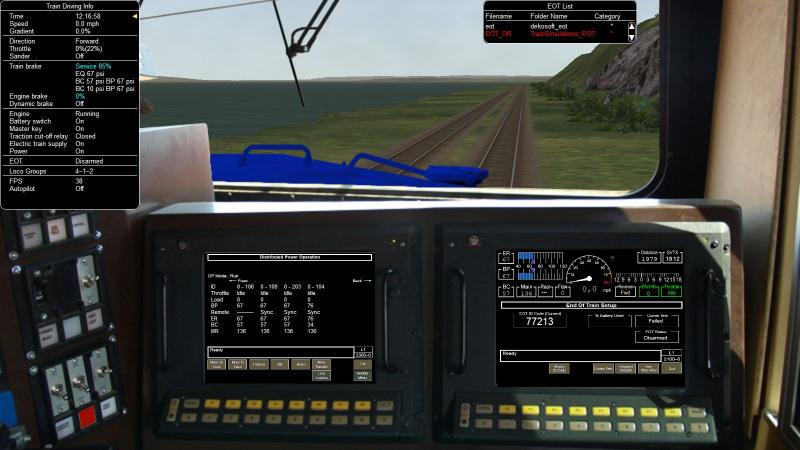
The first phase of EOT management is available in ORNYMG 115, as described in the first post of this thread and also here http://www.elvastowe...post__p__281011 .
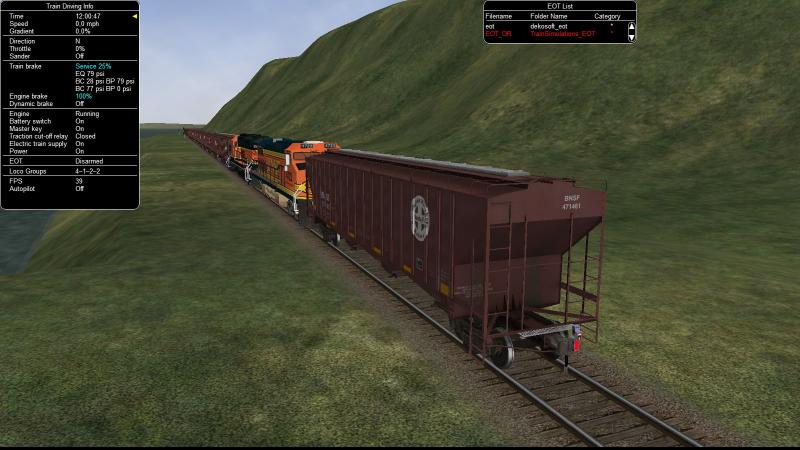
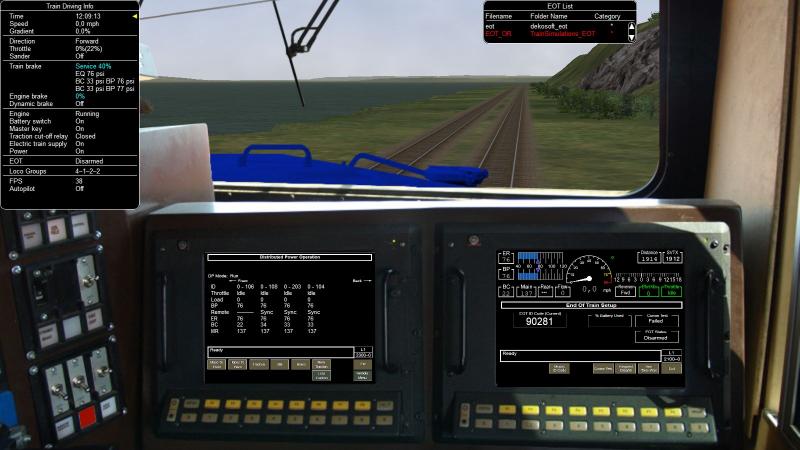
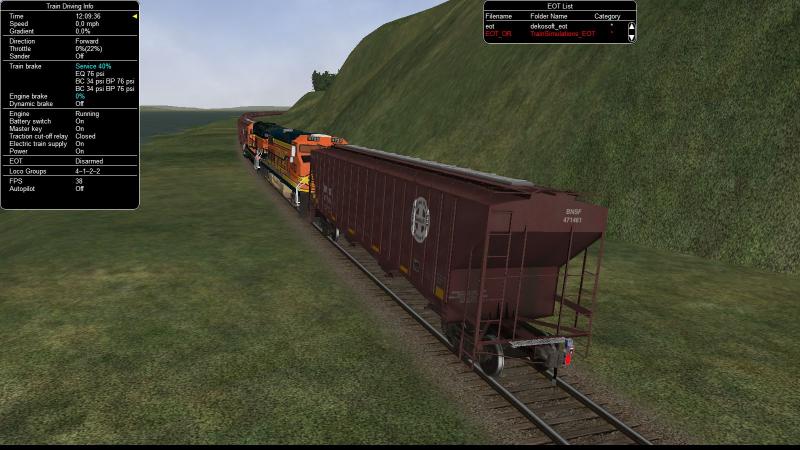
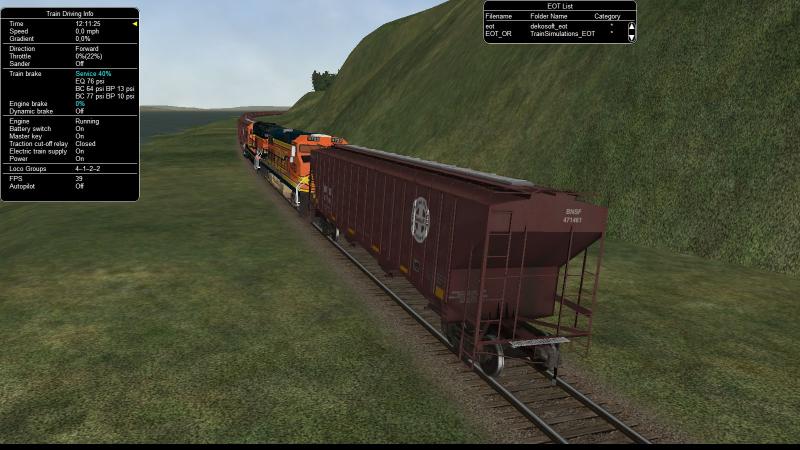
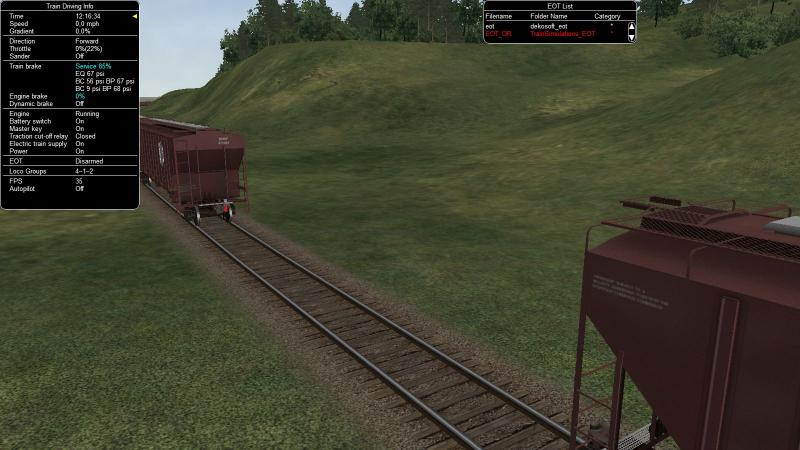
Note that at the moment the EOT does not visually appear and disappear at the end of the train. The EOT is "virtual" as of now.
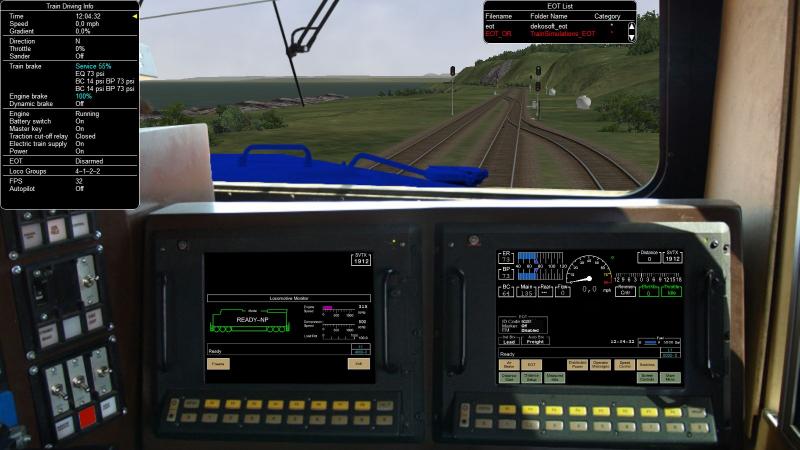
Attached is a patch that enables to test what has been developed up to now. The demo is again based on Borislav's ES44 cabs, version 3.1, and his SVTX_ES44AC_1912.eng engine, included in Trainsim's svtxes44acset.zip .
Installation is the same as for the pack described here http://www.elvastowe...post__p__280173 .
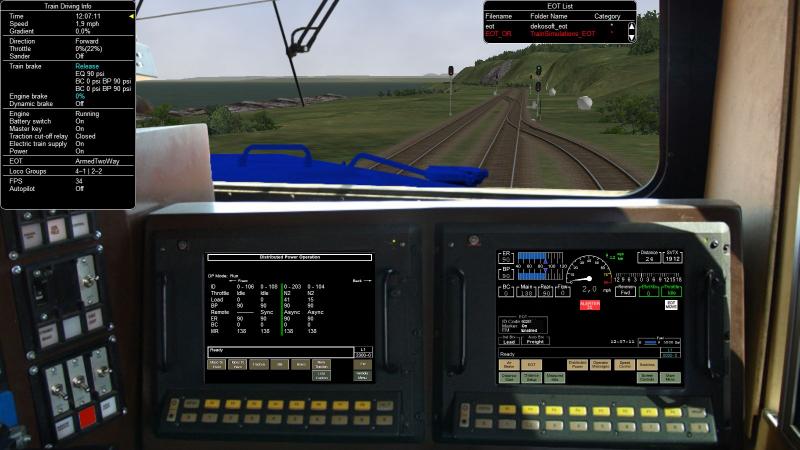
The attached pack here runs under ORNYMG 115 and includes also the DP features. It can be installed over the DPdemo pack.
This is a rough demo. It does not want at all be a final version of the cab, which is something which pertains to Borislav, if he wants to.
 DP-EOTdemo_V31.zip
Note that at the moment the EOT does not visually appear and disappear at the end of the train. The EOT is "virtual" as of now.
Attached is a patch that enables to test what has been developed up to now. The demo is again based on Borislav's ES44 cabs, version 3.1, and his SVTX_ES44AC_1912.eng engine, included in Trainsim's svtxes44acset.zip .
Installation is the same as for the pack described here http://www.elvastowe...post__p__280173 .
The attached pack here runs under ORNYMG 115 and includes also the DP features. It can be installed over the DPdemo pack.
This is a rough demo. It does not want at all be a final version of the cab, which is something which pertains to Borislav, if he wants to.
DP-EOTdemo_V31.zipGood Morning. I downloaded this EOT test patch you posted, but the EOT settings as described don't show up for me, only DP. Did I do something wrong? I downloaded the loco and the cabs update on trainsim, after I installed your patch!